Ok, I guess it is time for some follow up.
I have mostly followed updated design by Paddy.
Some details on configuration as it is right now:
- printed wheels with outer rim from PETG
- 3 ultrasonic sensors
- 2 mower motors
- bumper based on outer shell using micro switches (as designed by Paddy)
- GPS (moved to the back, into the motor compartment)
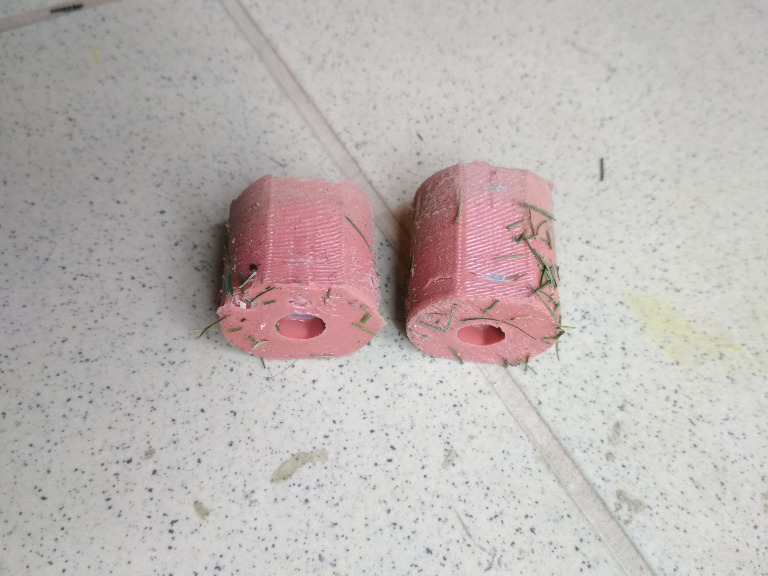
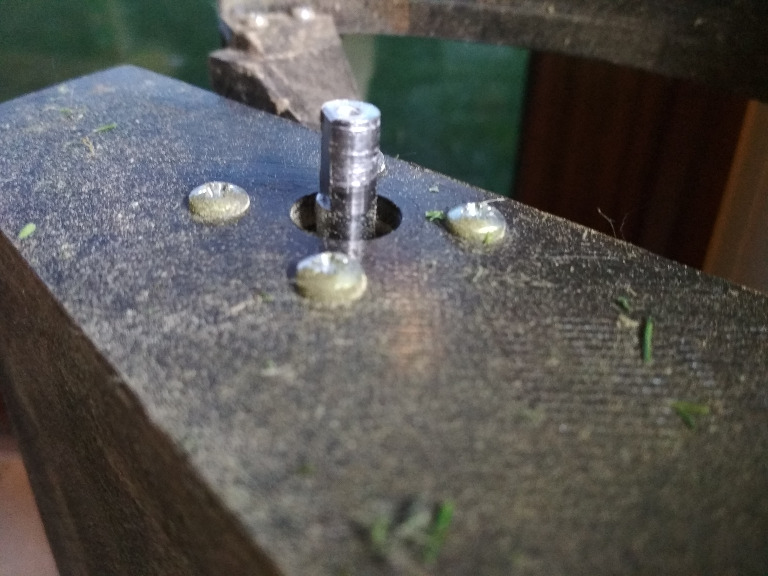
- outer shell attached using custom made dampers (as suggested by Paddy)
At the moment I see couple of serious problems:
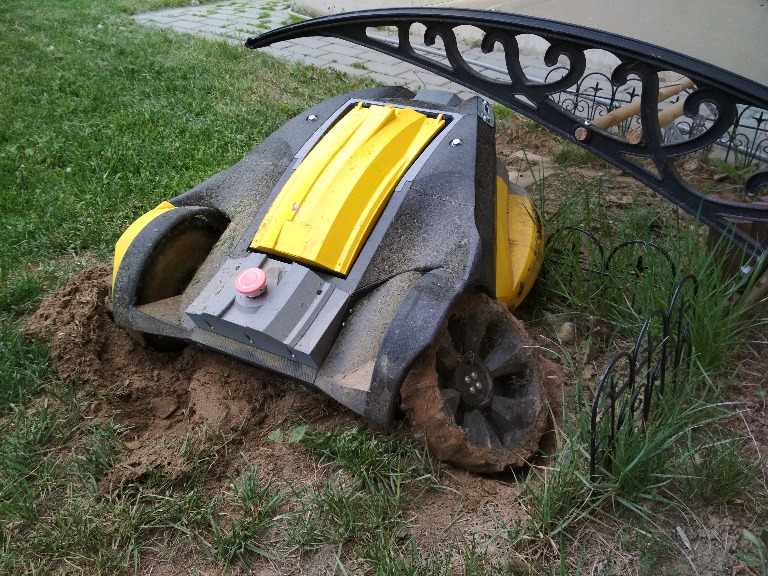
- If the mower comes to perimeter at a very shallow angle near the fence, after reaching it, it may try to turn direction towards the fence and hit it. The force may be not enough to trigger the bumper and the mower starts to dig the earth (because of the solid outer shell and quite large spikes on wheels)
- because of the bottom part of the nose in sloped inwards, there might be cases, where the mower comes to a tree or small fence (like for flowers) and manages to go nose up without triggering bumper. This acrobatic eventually broke one (at least) damper
At this point, I'm thinking to fix the damper (build new one) and then increase sensitivity of the bumper by bending switch pins just a bit forward.
There are some other things that annoy me a bit:
- mower disk covers are indeed quite low and while normally it is not an issue, but in some places it just touches ground enough to change direction and/or stop. i had to even out some spots on the perimeter for that. I guess the option is of course to cut a centimeter or so from the covers so the have higher clearance.
- Odometry is somehow not working properly. Need to figure out proper PID parameters for this setup. Can live without it, but movement is somewhat unpredictable in such case
- Maintenance is somewhat complicated due to the wiring that is necessary to have between PCB box and shell.
So far, had 3 runs - none successful, one that would run automatically from start to finish without any assistance.
P.S.
I think, I have missed Pfod related changes in the last commit related to two mowers. The necessary change is here .
I have mostly followed updated design by Paddy.
Some details on configuration as it is right now:
- printed wheels with outer rim from PETG
- 3 ultrasonic sensors
- 2 mower motors
- bumper based on outer shell using micro switches (as designed by Paddy)
- GPS (moved to the back, into the motor compartment)
- outer shell attached using custom made dampers (as suggested by Paddy)
At the moment I see couple of serious problems:
- If the mower comes to perimeter at a very shallow angle near the fence, after reaching it, it may try to turn direction towards the fence and hit it. The force may be not enough to trigger the bumper and the mower starts to dig the earth (because of the solid outer shell and quite large spikes on wheels)
- because of the bottom part of the nose in sloped inwards, there might be cases, where the mower comes to a tree or small fence (like for flowers) and manages to go nose up without triggering bumper. This acrobatic eventually broke one (at least) damper
At this point, I'm thinking to fix the damper (build new one) and then increase sensitivity of the bumper by bending switch pins just a bit forward.
There are some other things that annoy me a bit:
- mower disk covers are indeed quite low and while normally it is not an issue, but in some places it just touches ground enough to change direction and/or stop. i had to even out some spots on the perimeter for that. I guess the option is of course to cut a centimeter or so from the covers so the have higher clearance.
- Odometry is somehow not working properly. Need to figure out proper PID parameters for this setup. Can live without it, but movement is somewhat unpredictable in such case
- Maintenance is somewhat complicated due to the wiring that is necessary to have between PCB box and shell.
So far, had 3 runs - none successful, one that would run automatically from start to finish without any assistance.
P.S.
I think, I have missed Pfod related changes in the last commit related to two mowers. The necessary change is here .
 hmy:
hmy: 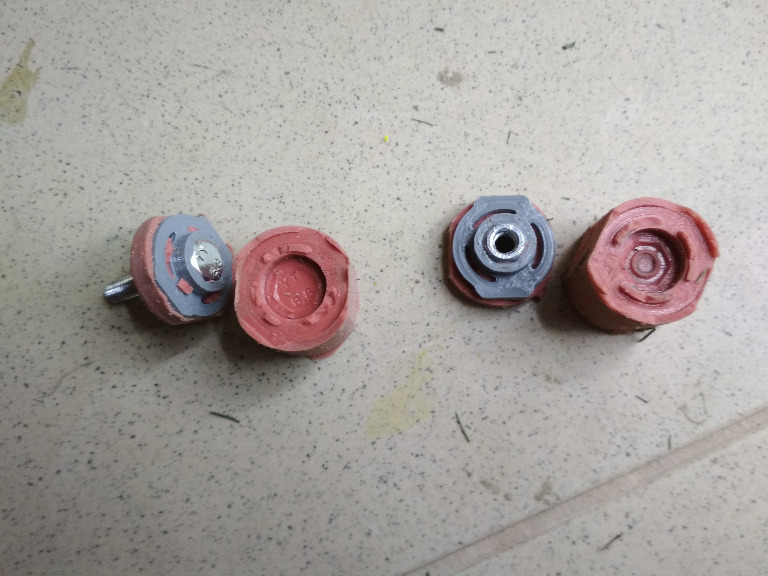