Beginner - Ardumower Build Thread (picture heavy)

aerowave

New member
Hi all

My name is Thomas and I live in Sweden, after alot of reading on this forum and in the wiki I decided to order my first Ardumower. So, two weeks ago I bougth my first Ardumower kit and after some days the package arrived. Thanks Markus Lübon for the fast delivery! The package (~12 kg) was very well packed and nothing seems to be broken or missing, so that's a good start.

Here is a list of every thing I ordered:
1x DC Plug-mounted socket for housing 5.5 x 2.5 mm

1x Megaboard 2560 R3 ATmega2560 compatible with USB Cable Arduino with CH340G IC

1x emergency stop switch, Emergency Stop, Switch Pushbutton

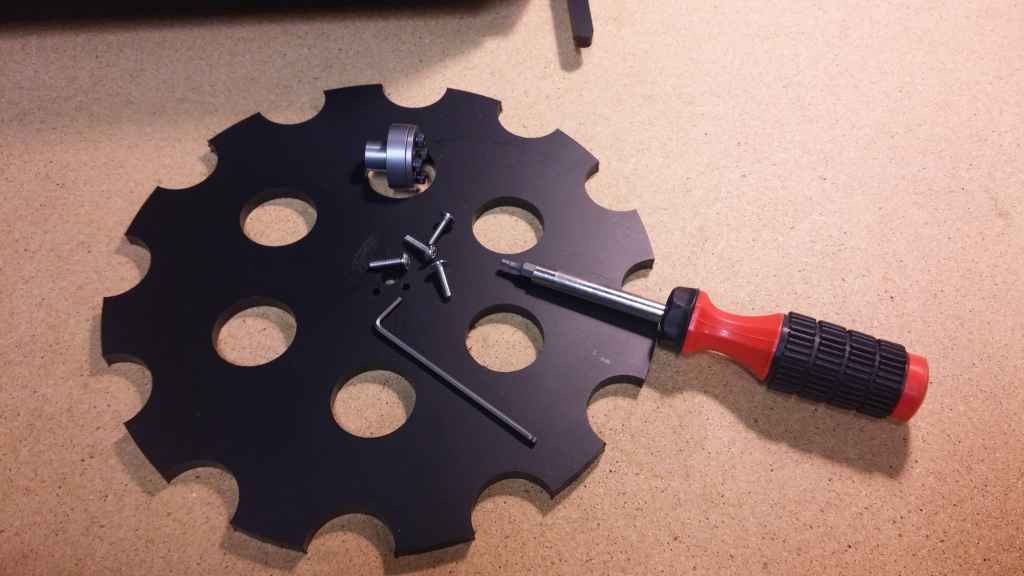
1x 9 Knife + 9 bolts suitable example for Automower® of Husqvarna®

1x Ardumower Board 1.2 (prototype) with chassis and engines:
[li]1x accessory kit for the Ardumower Board 24V[/li]
[li]1x INA169 Analog DC Current Sensor Breakout - 60V 2.5A / 5A Marotronics[/li]
[li]1x 2 x Dual MC33926 Motor Driver Carrier[/li]
[li]1x 3 x DC-DC voltage regulator LM2596 step-down regulator adjustable[/li]
[li]1x HC-05 Wireless Bluetooth RF Transceiver Module RS232 Serial for Arduino[/li]
[li]1x Real Time Clock Module I2C RTC DS1307 as for Arduino[/li]
[li]1x 3 x HC-SR04 ultrasonic sensor Ultrasonic Ranging Module[/li]
[li]1x Charger for 24V batteries Ardumower with status LED for Li-Ion Batteries[/li]

I don't think this is the complete kit, so I may need to order som more components in a near future to complete my mower. It's a bit unclear to me which parts of the mower that are optional which are not, hopefully that will be more clear when I start assembling.

I will take a lot of pictures to document my building procedure, I have never built an Ardumower before so I don't know what's right or wrong here, so bear with me. If you have any comments, suggestion or other input on my build, please let me know.

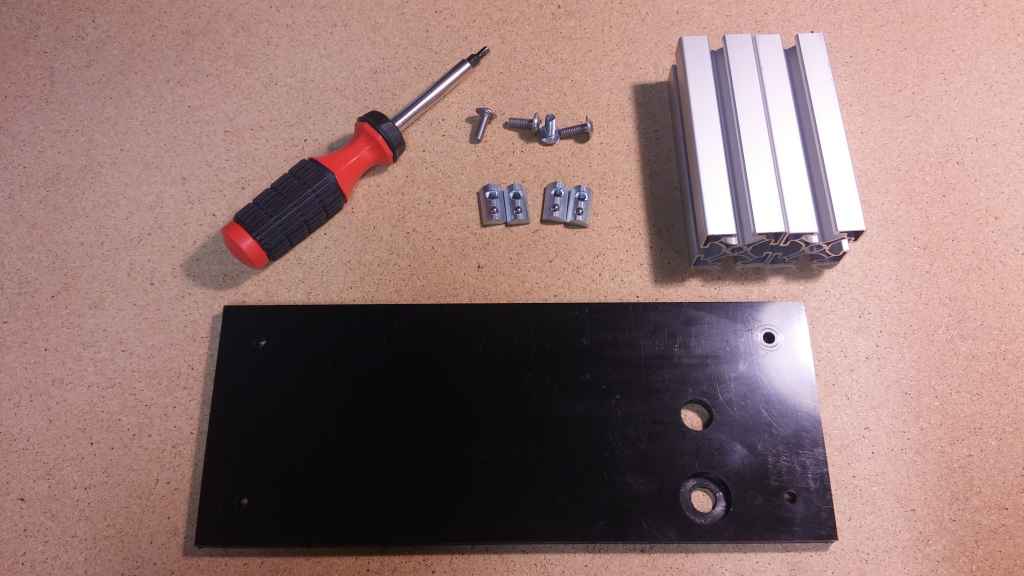
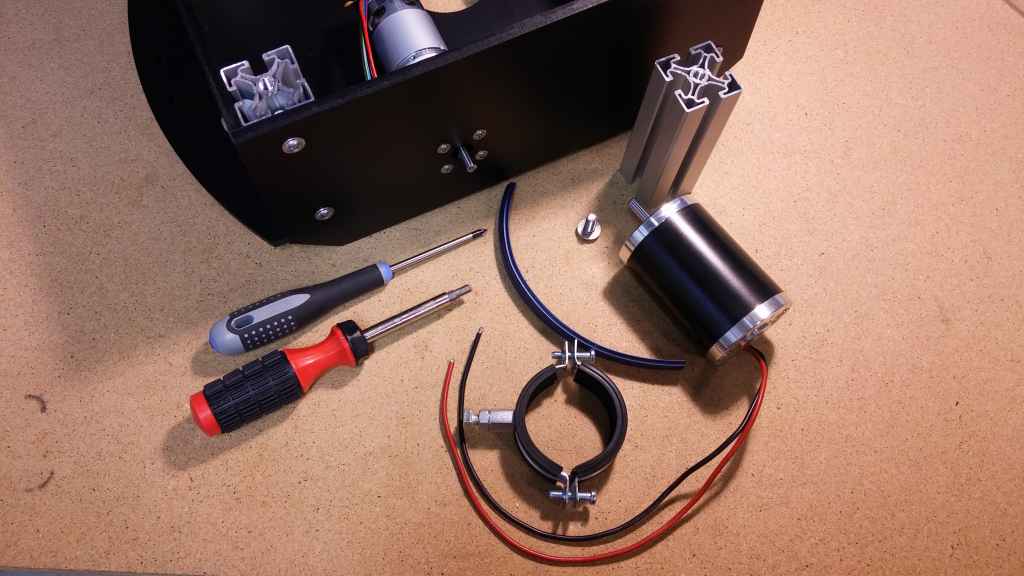
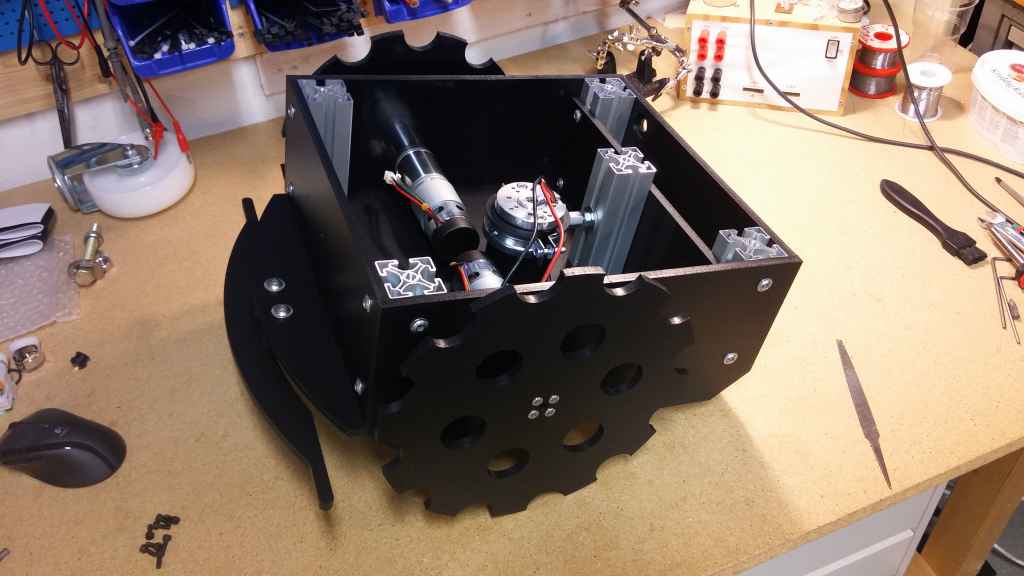
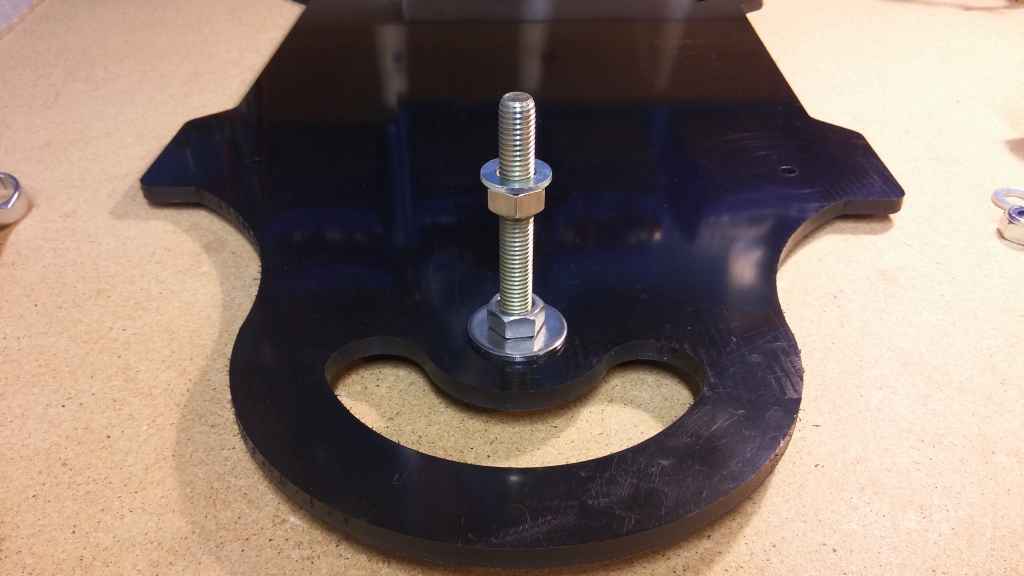
I will start this thread by building the chassi, here are pictures of all the chassi parts included in the Ardumower kit:

20160526_195911.jpg

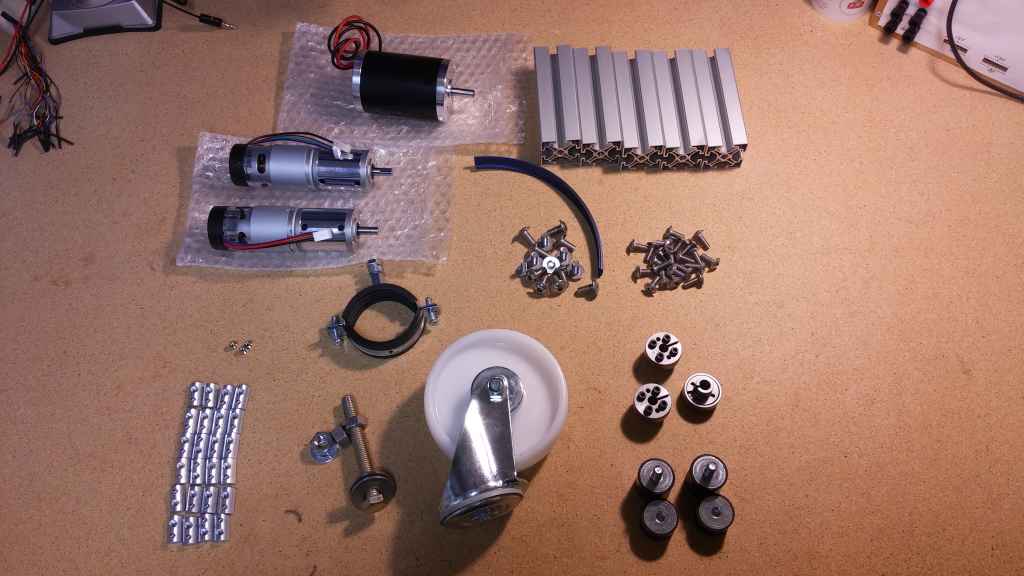
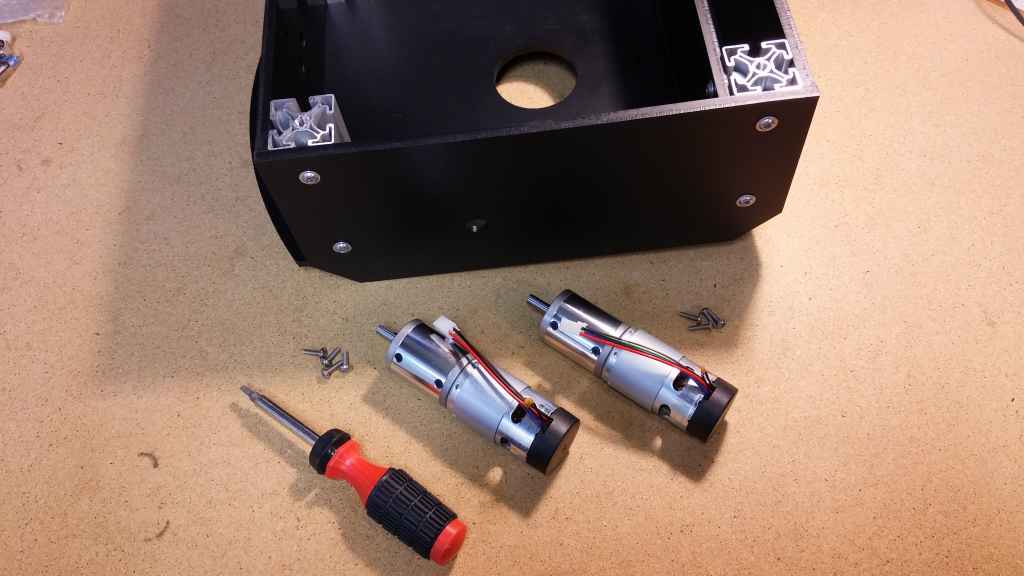
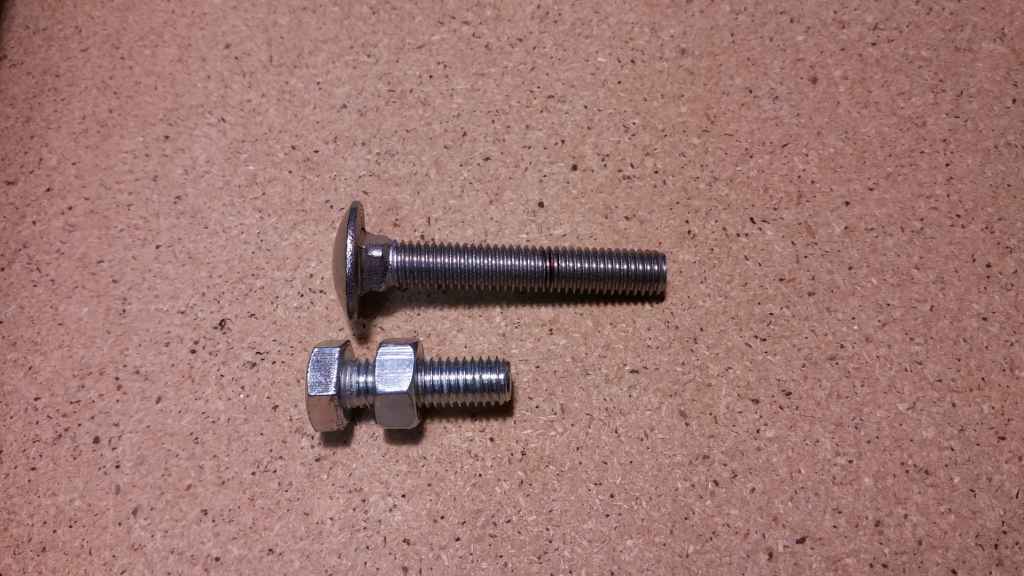
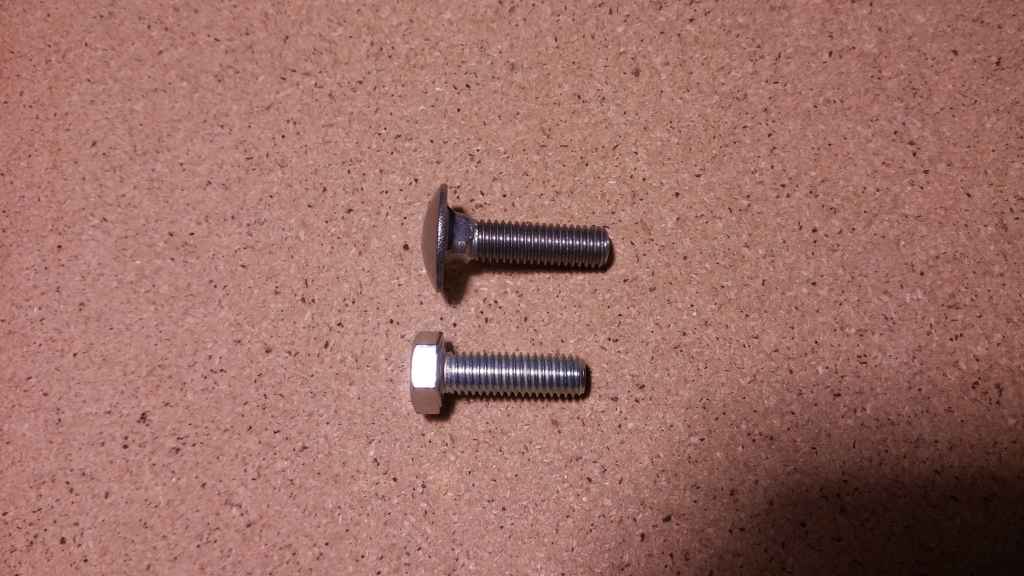
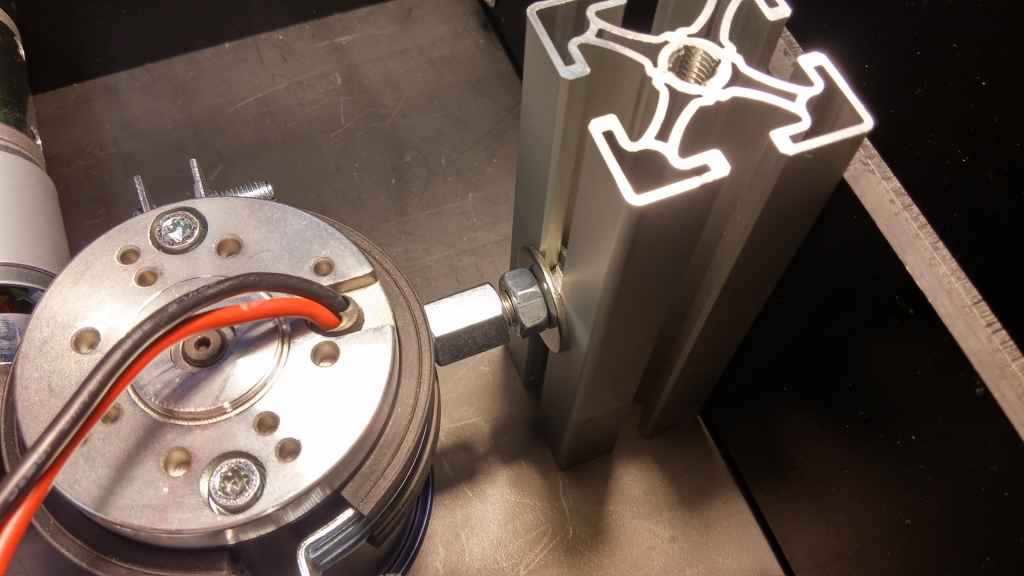
Engines, nuts and bolts.

20160526_200110.jpg

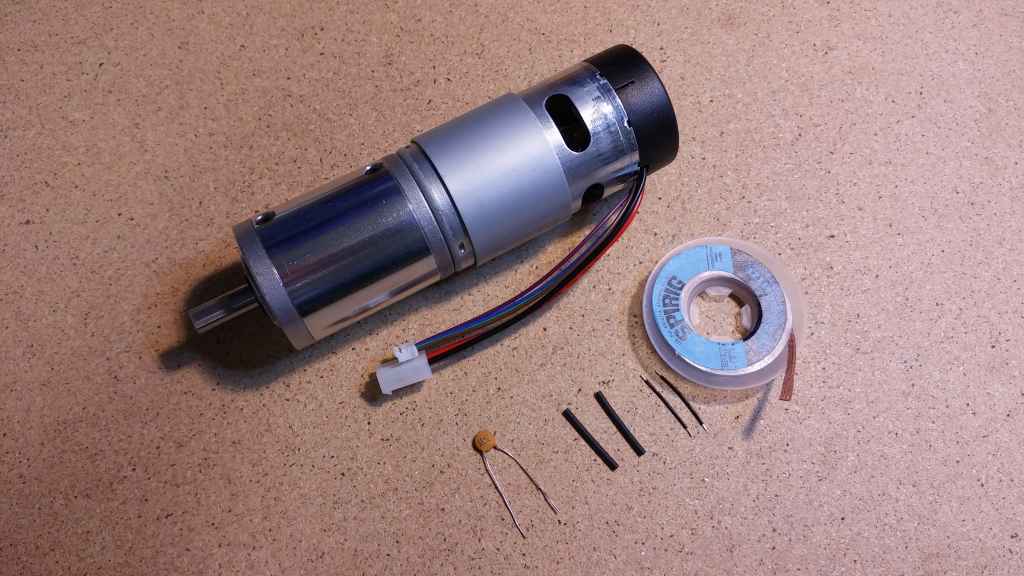
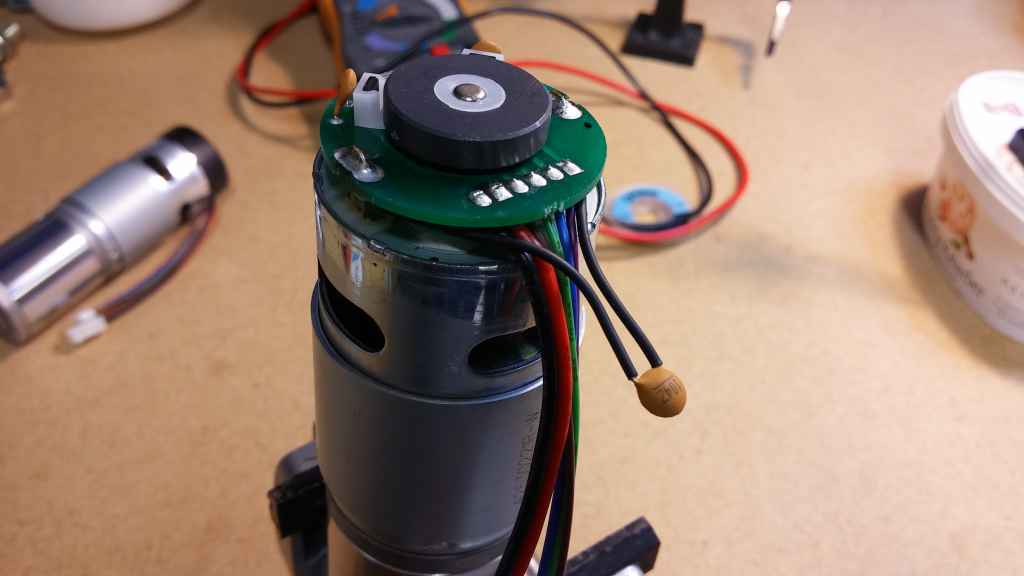
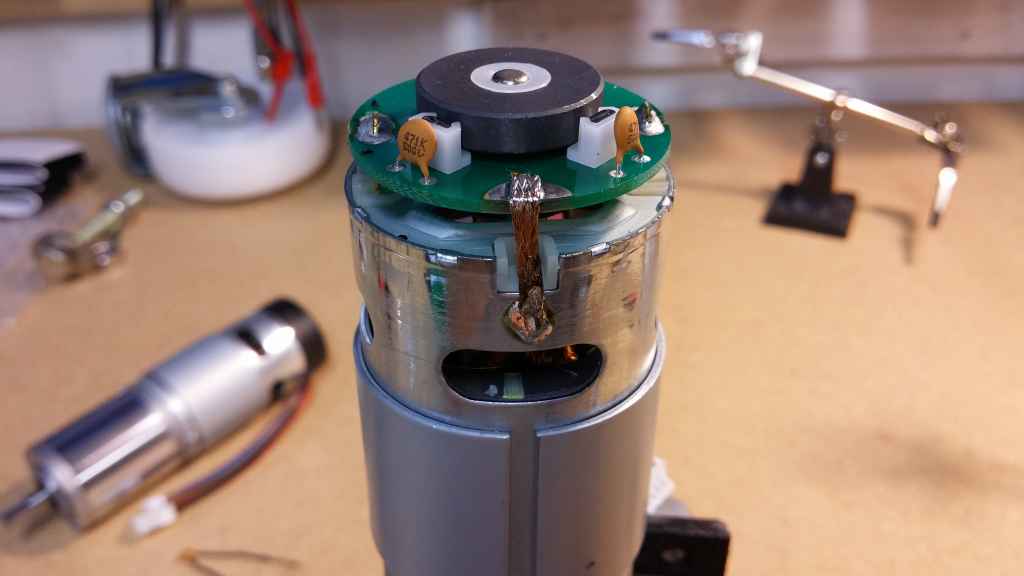
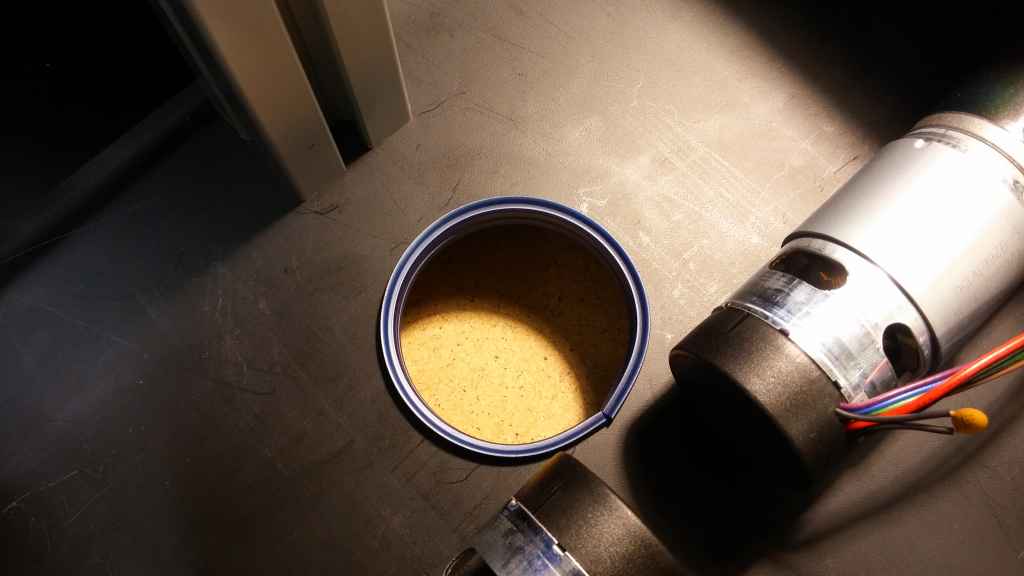
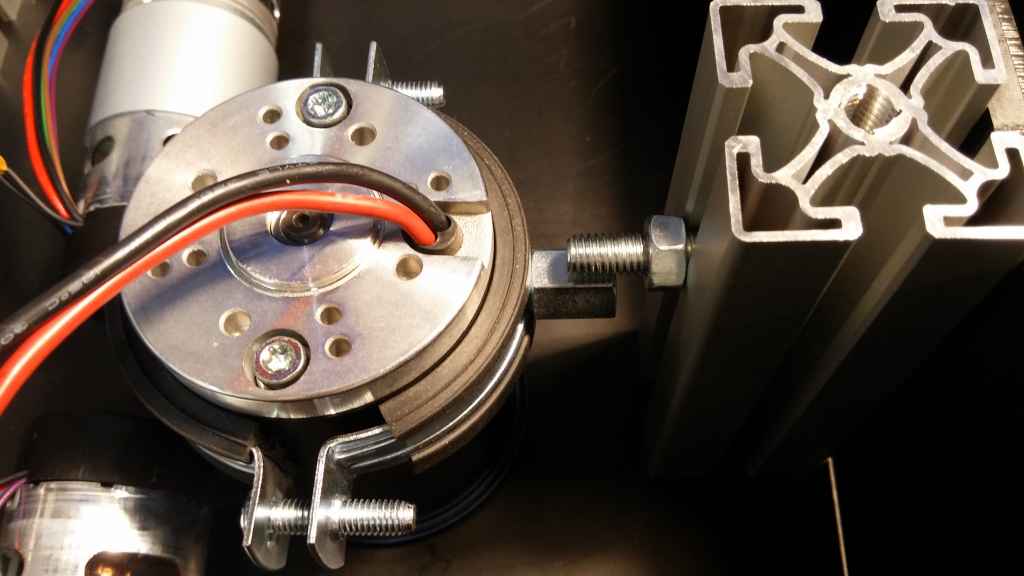
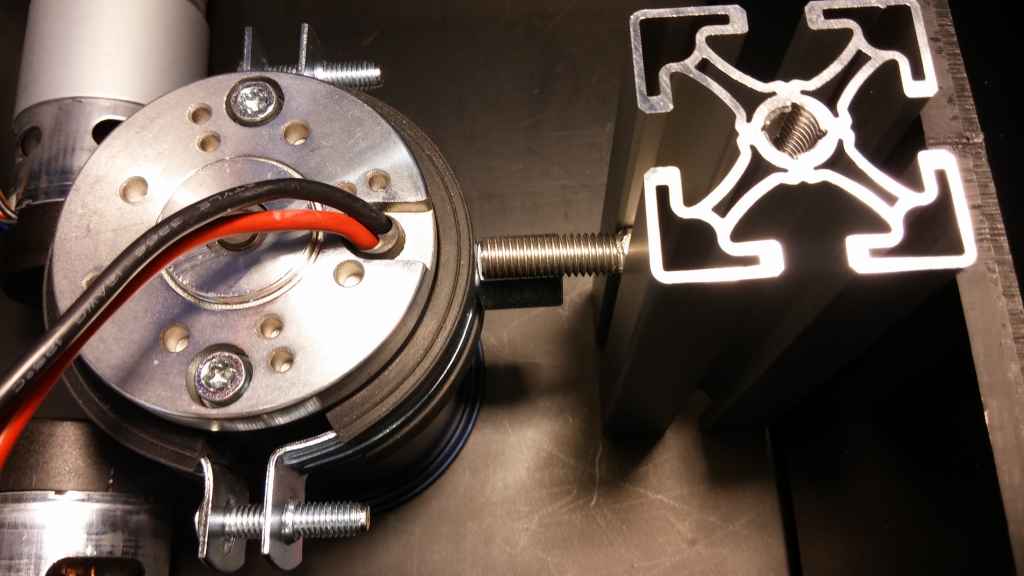
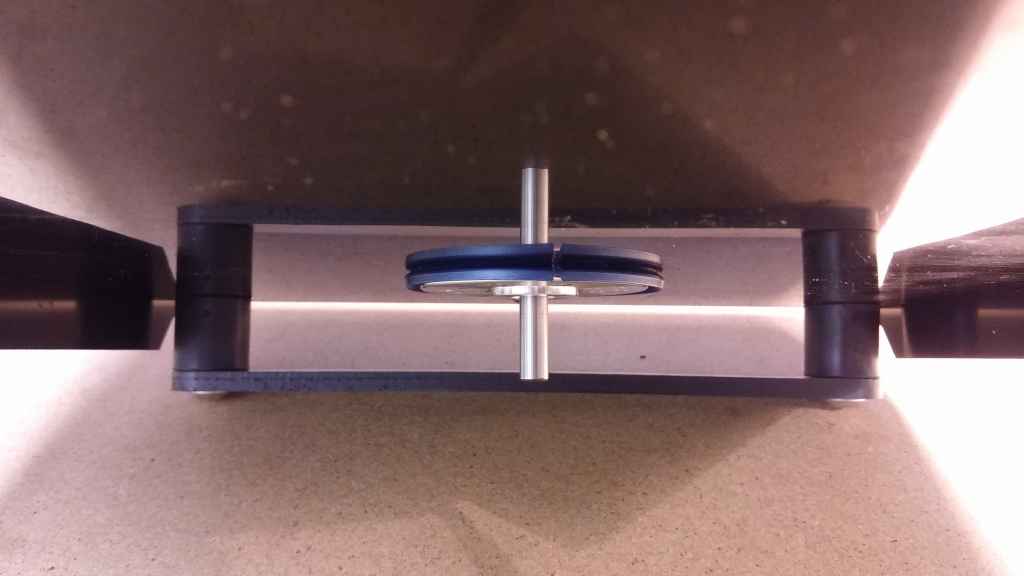
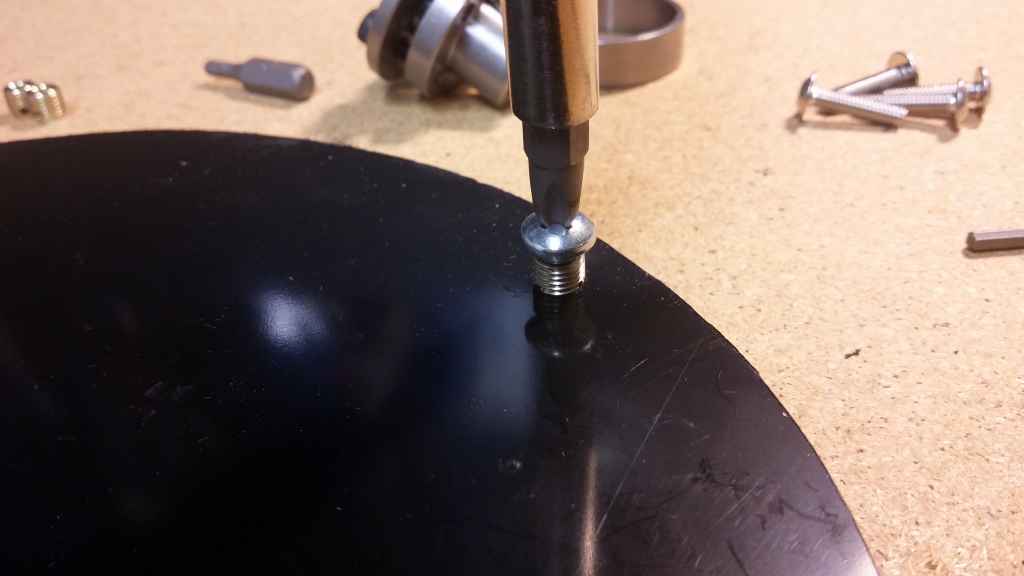
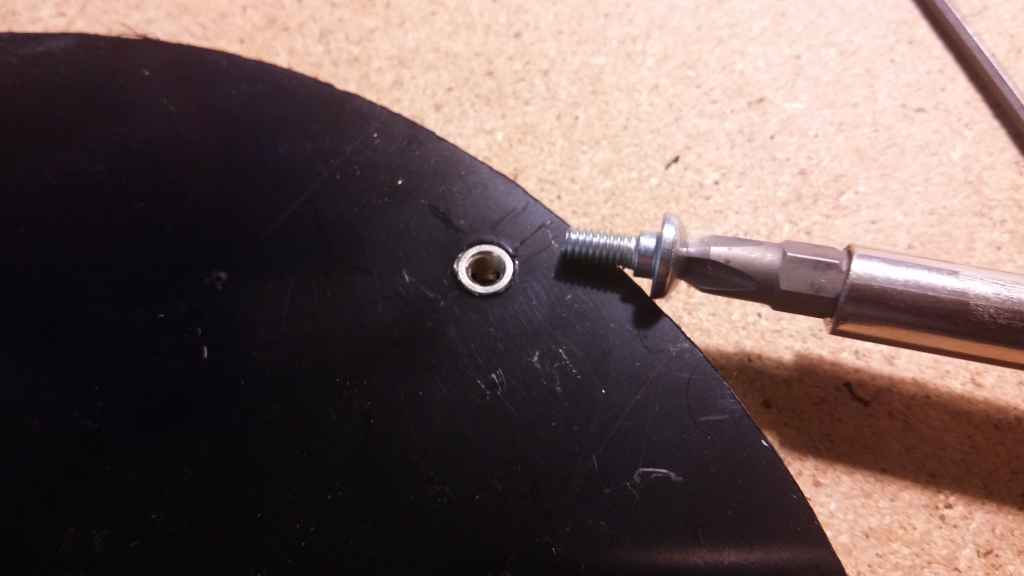
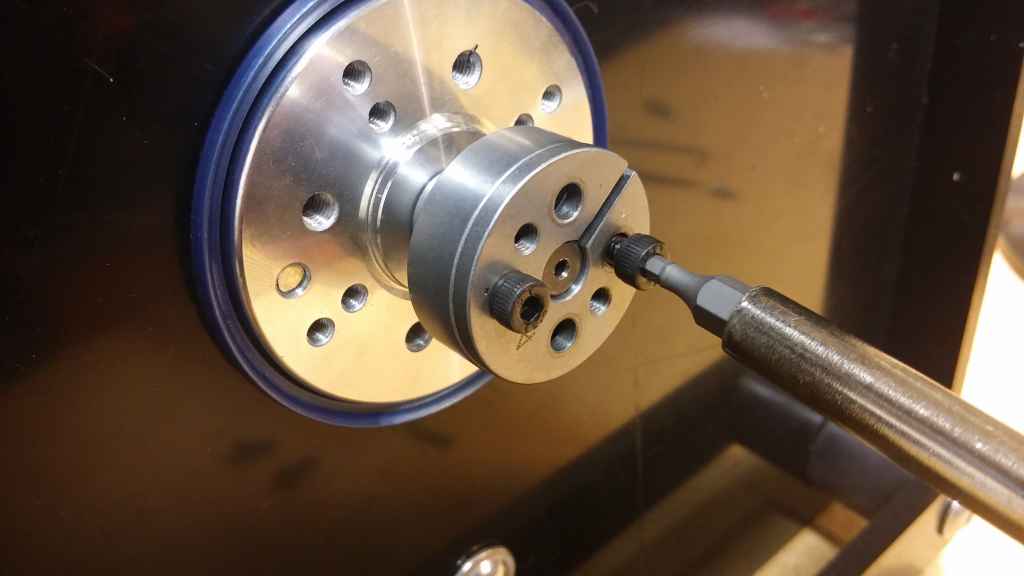
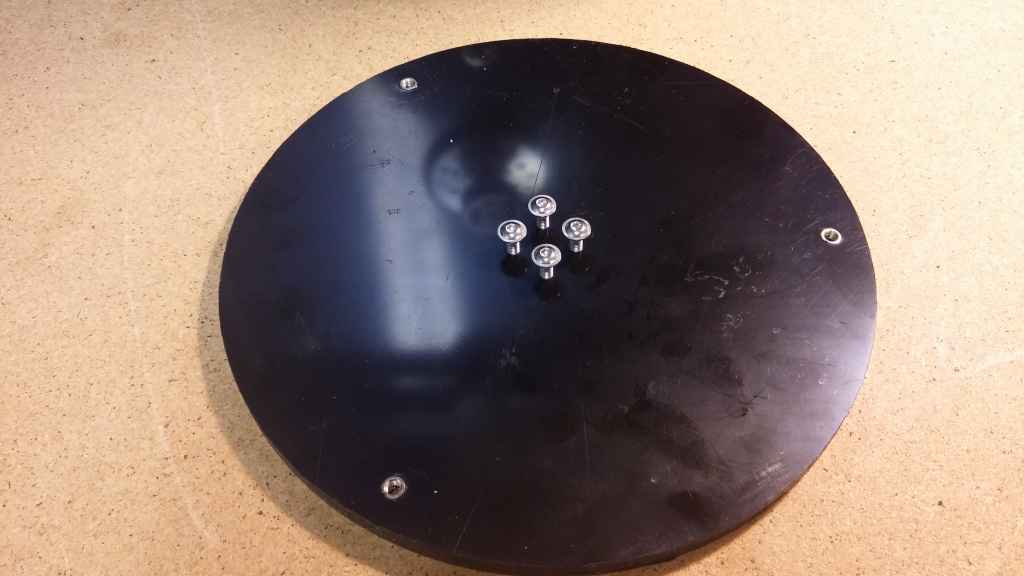
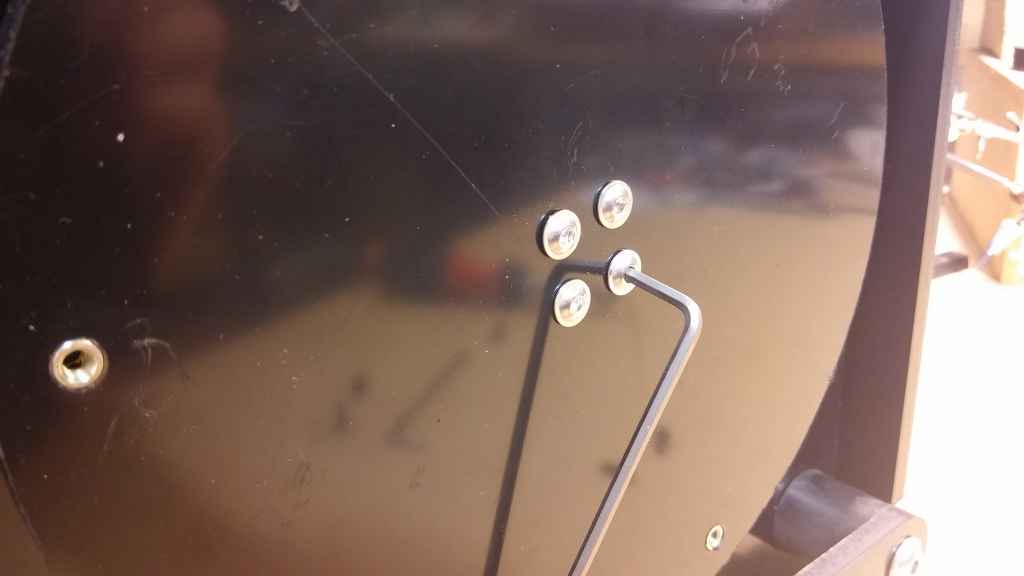
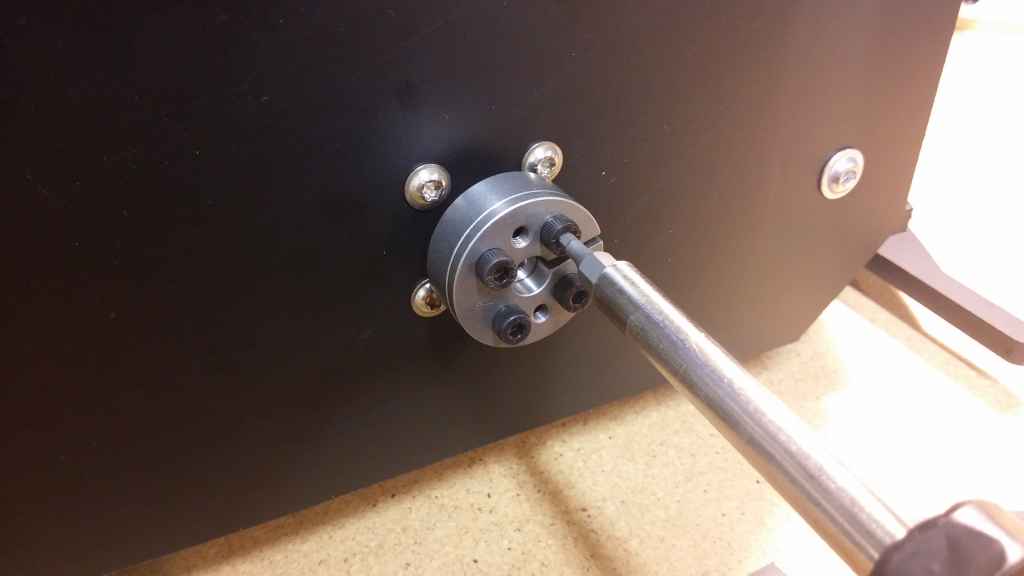
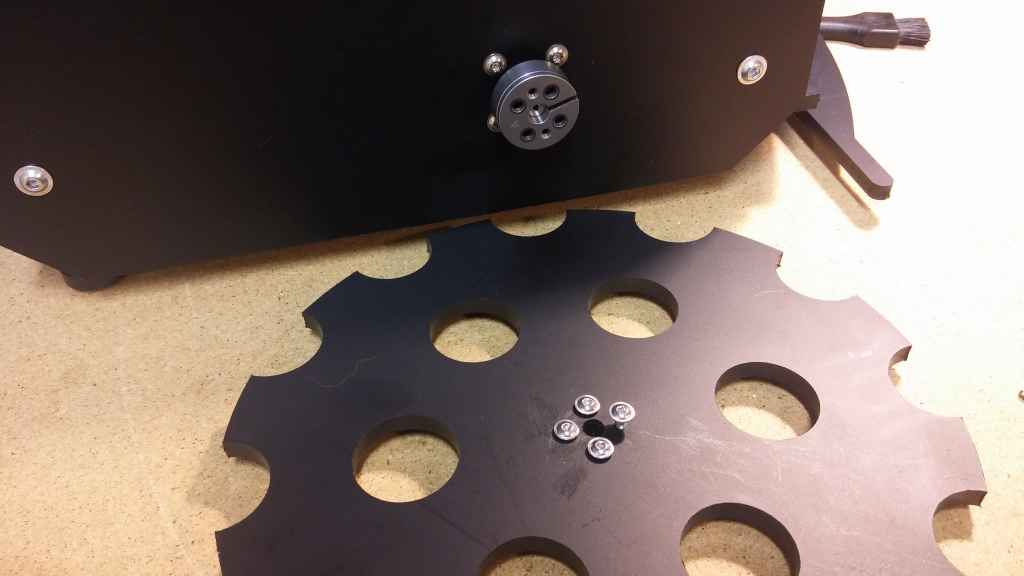
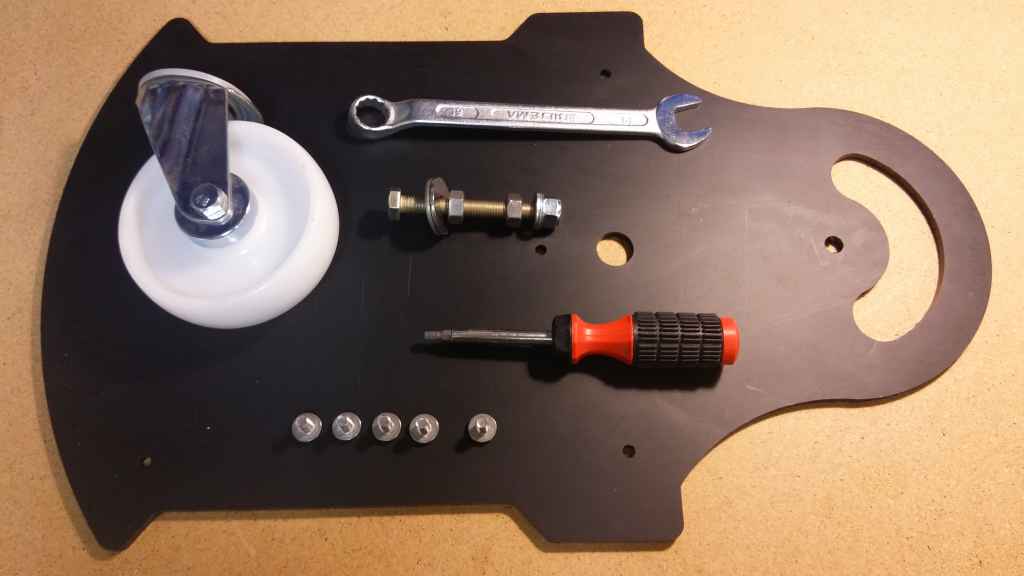
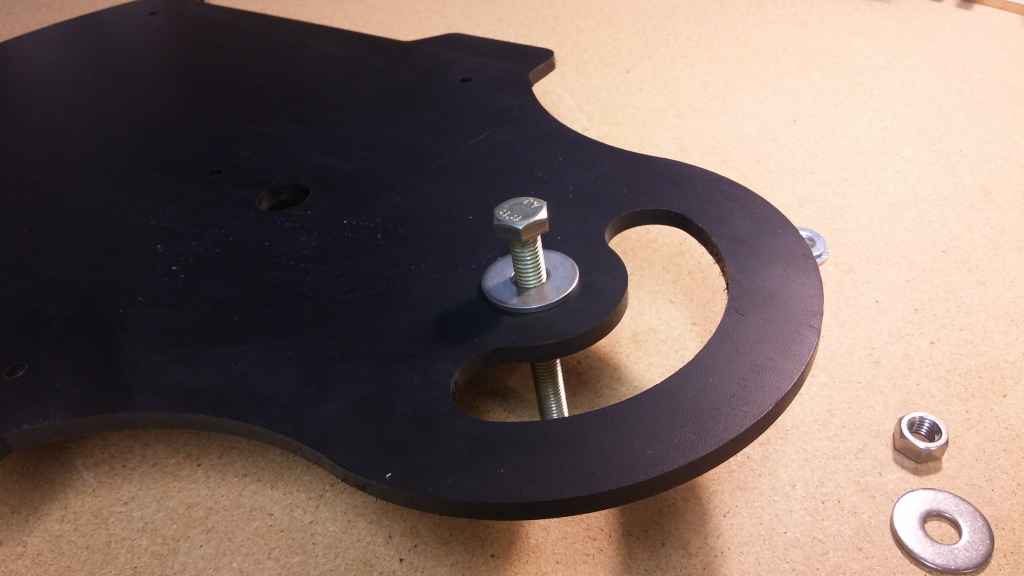
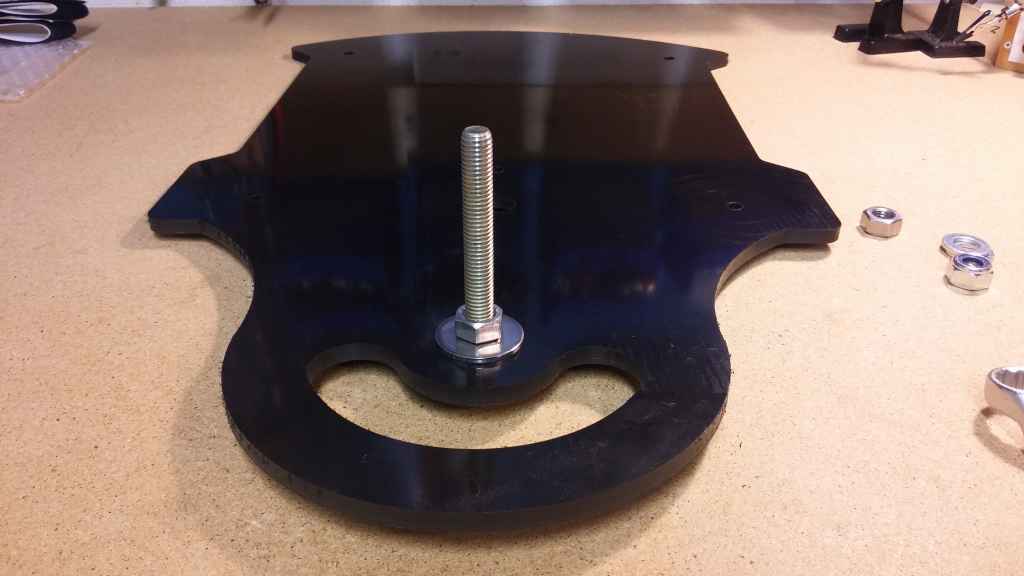
Mower engine and mower disc.

20160526_200357.jpg

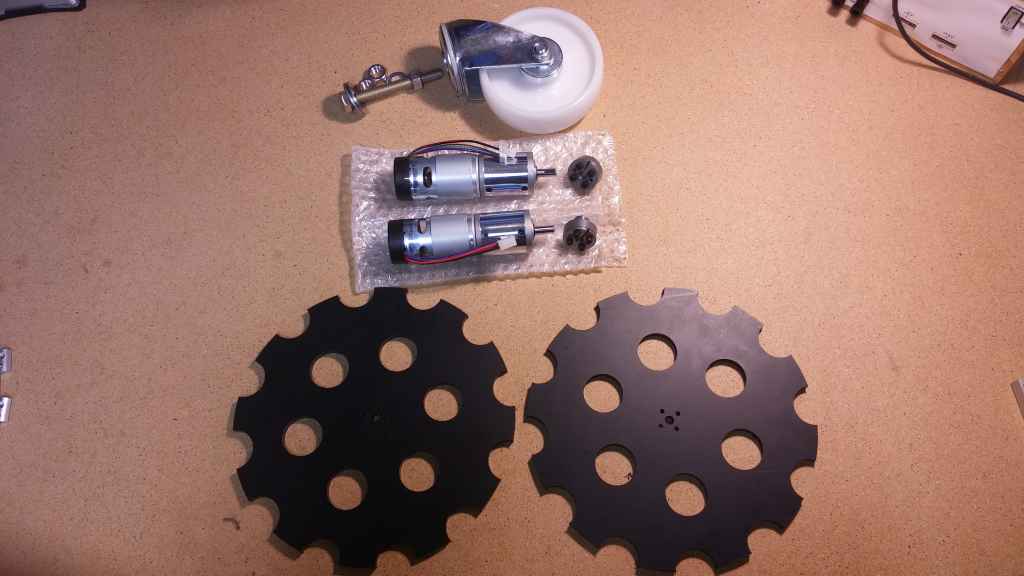
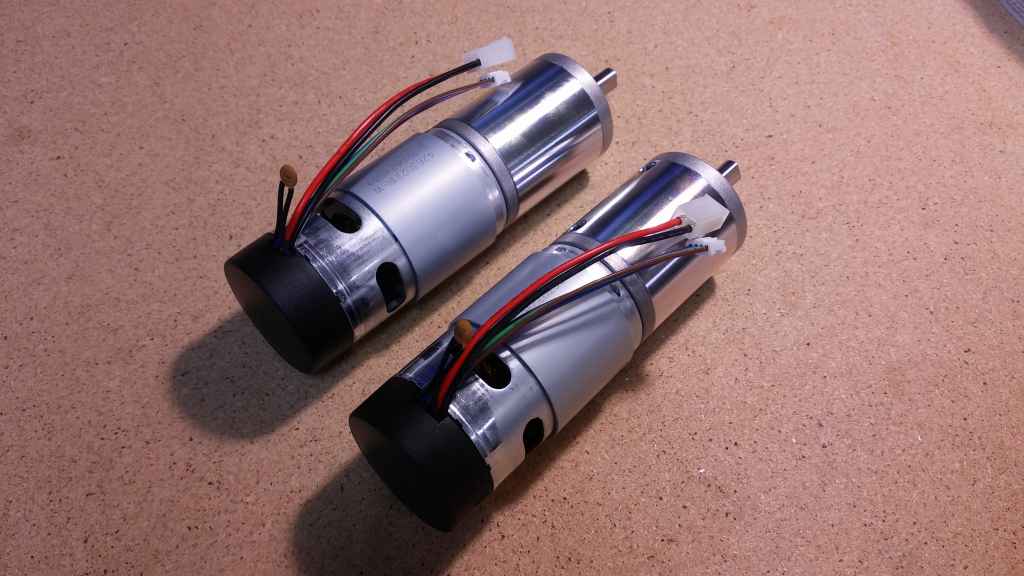
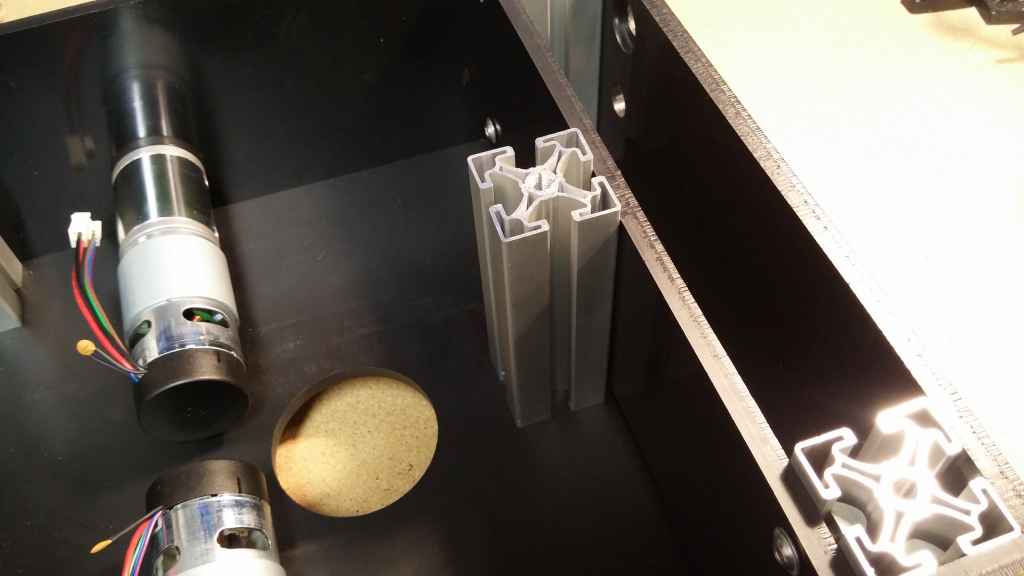
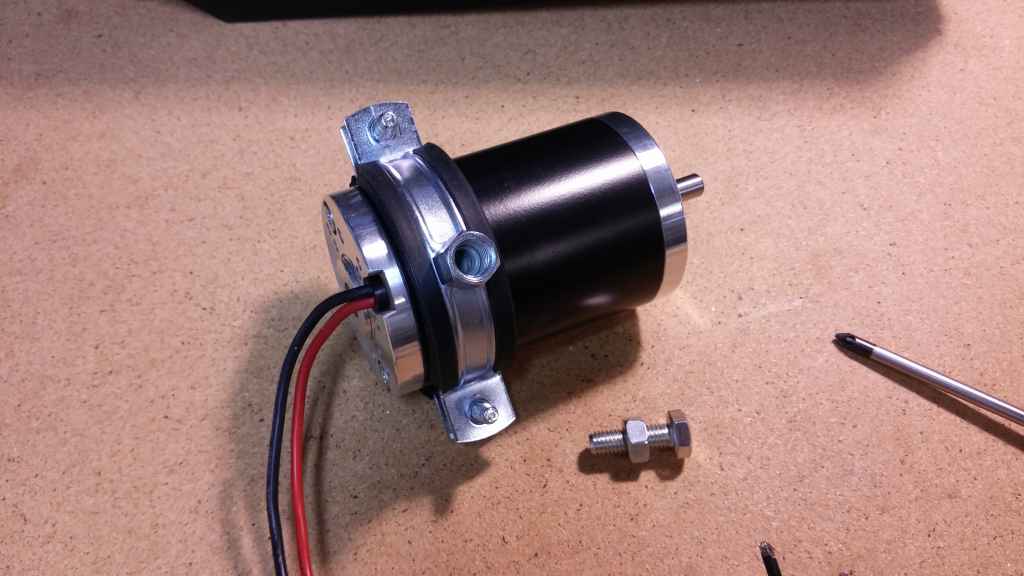
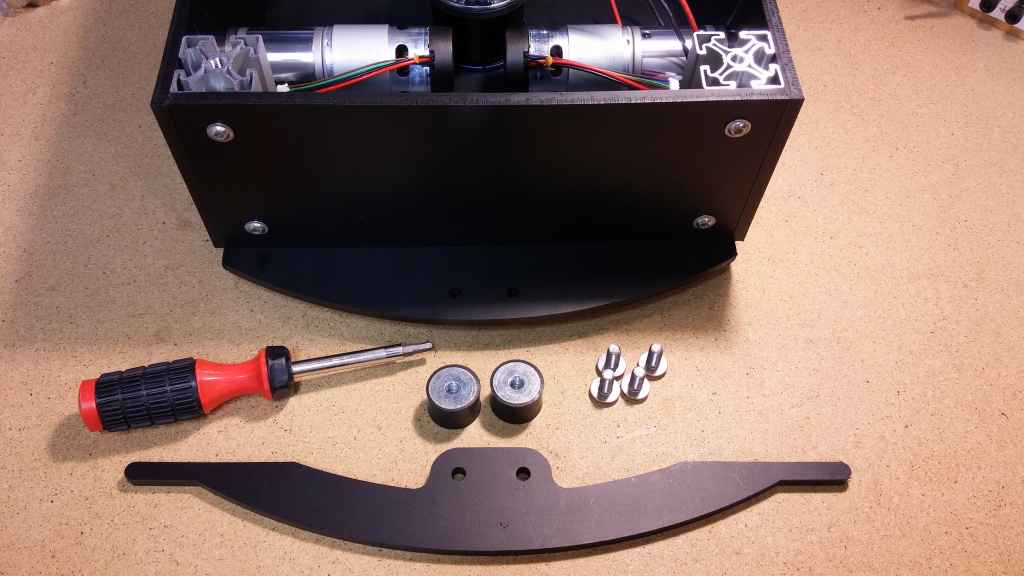
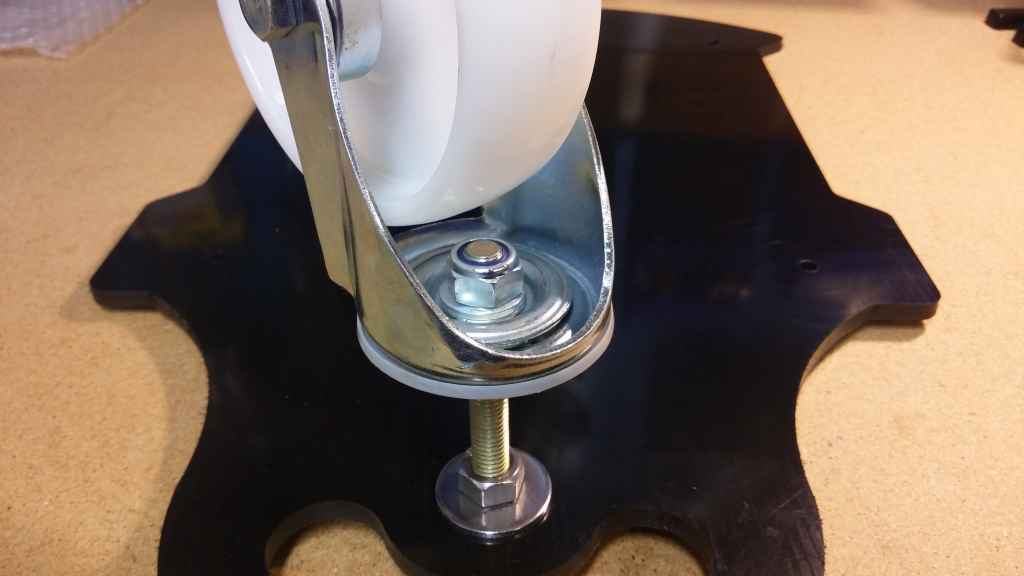
All the wheels and main engines.

20160526_201609.jpg

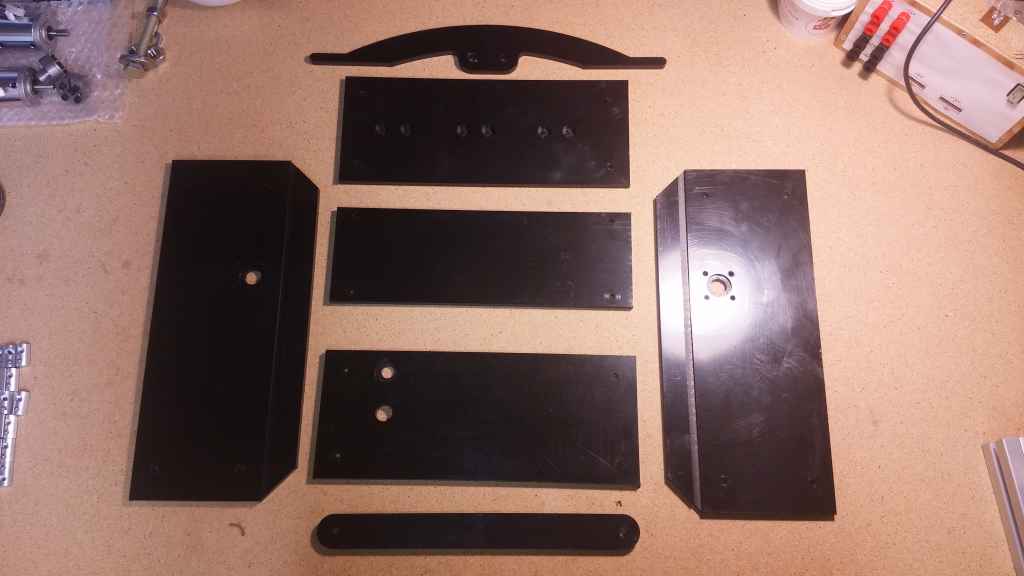
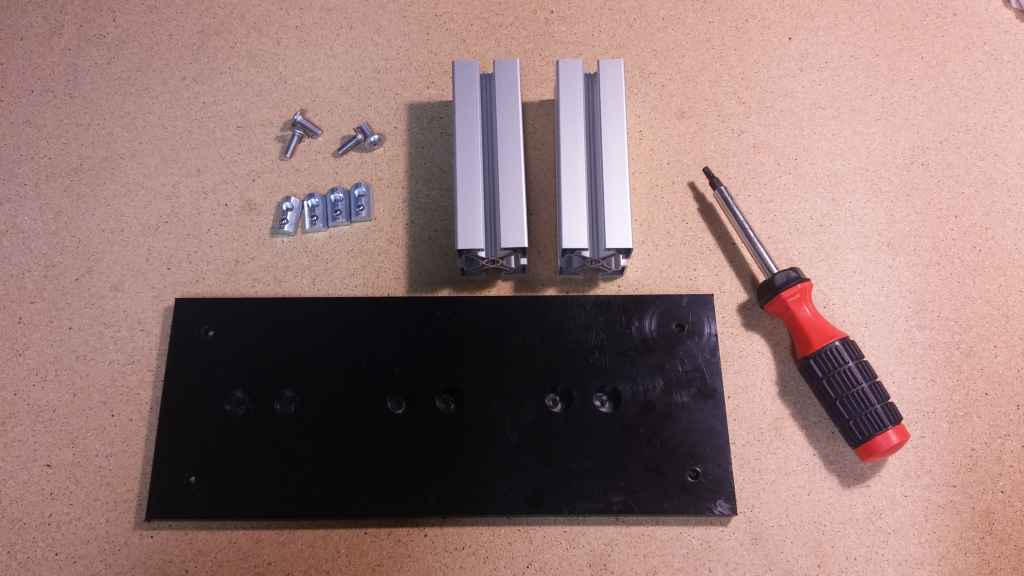
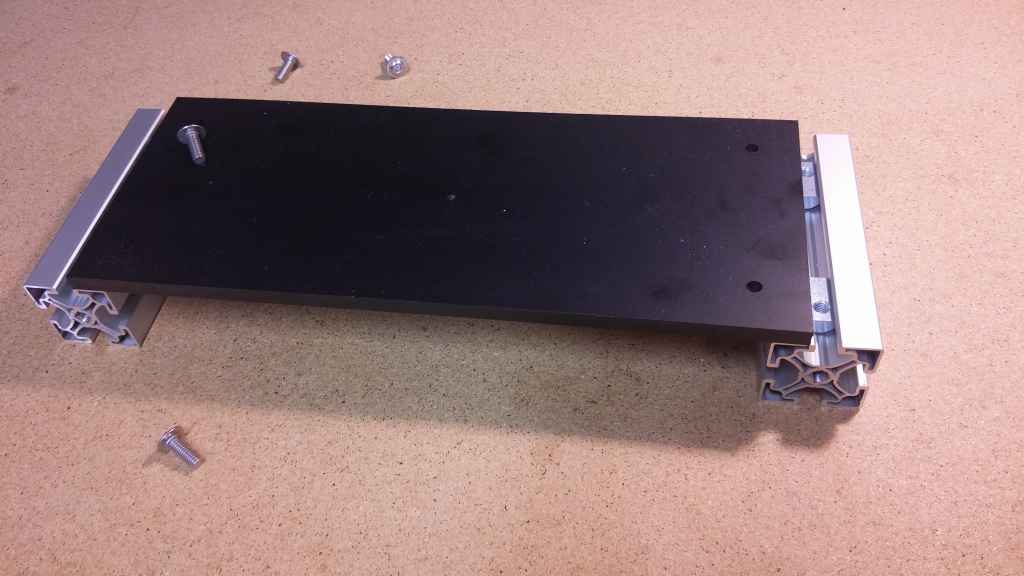
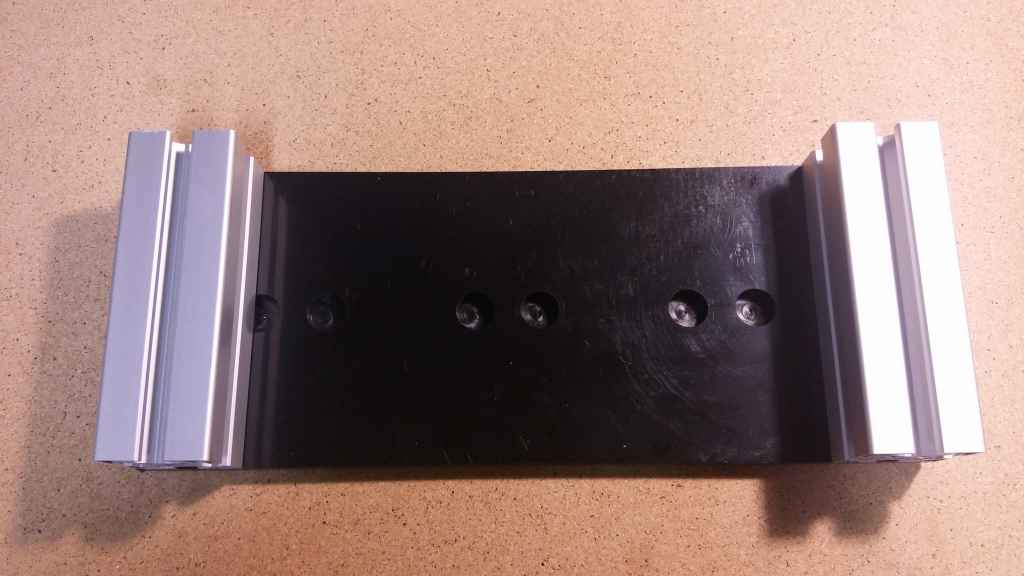
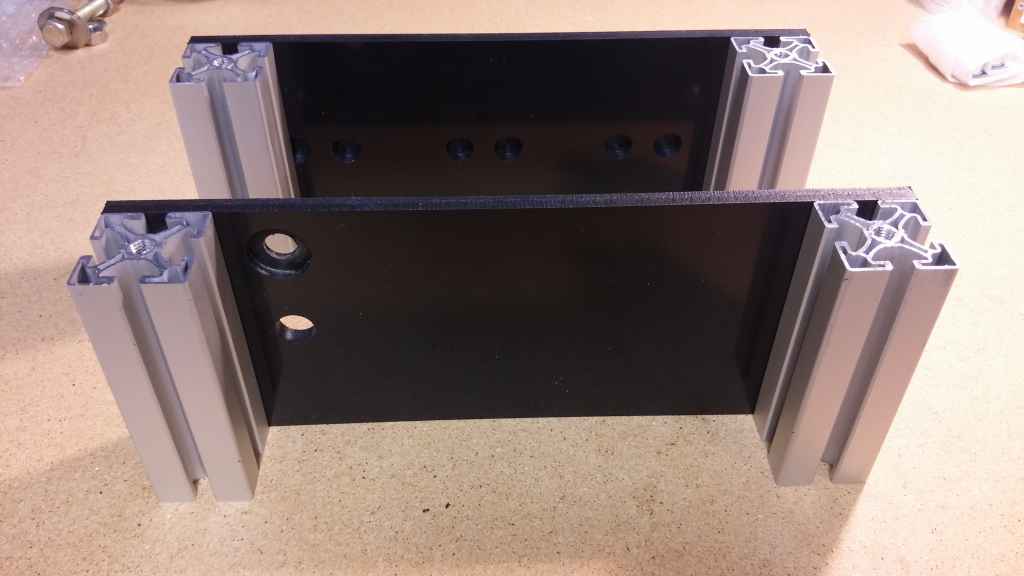
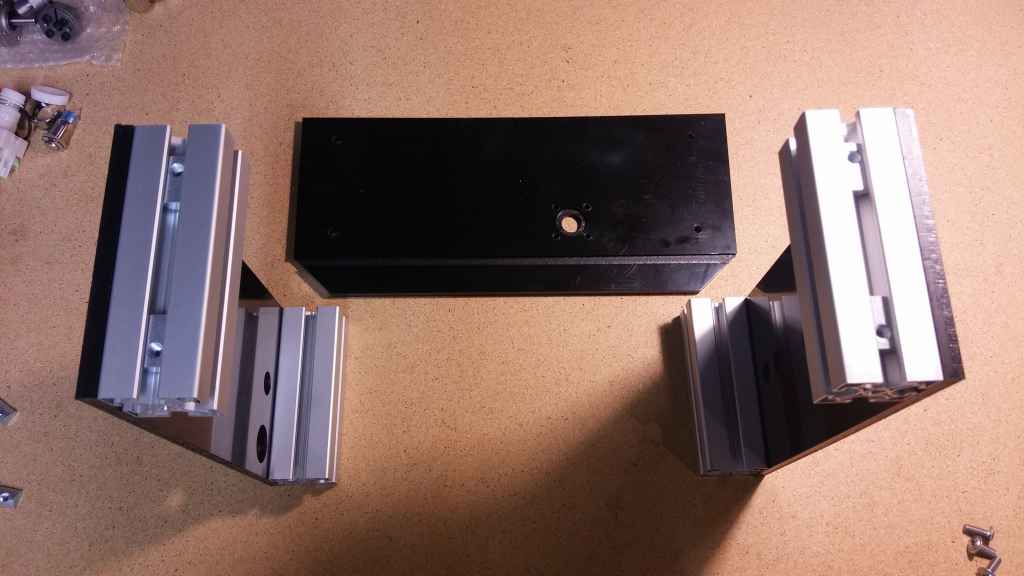
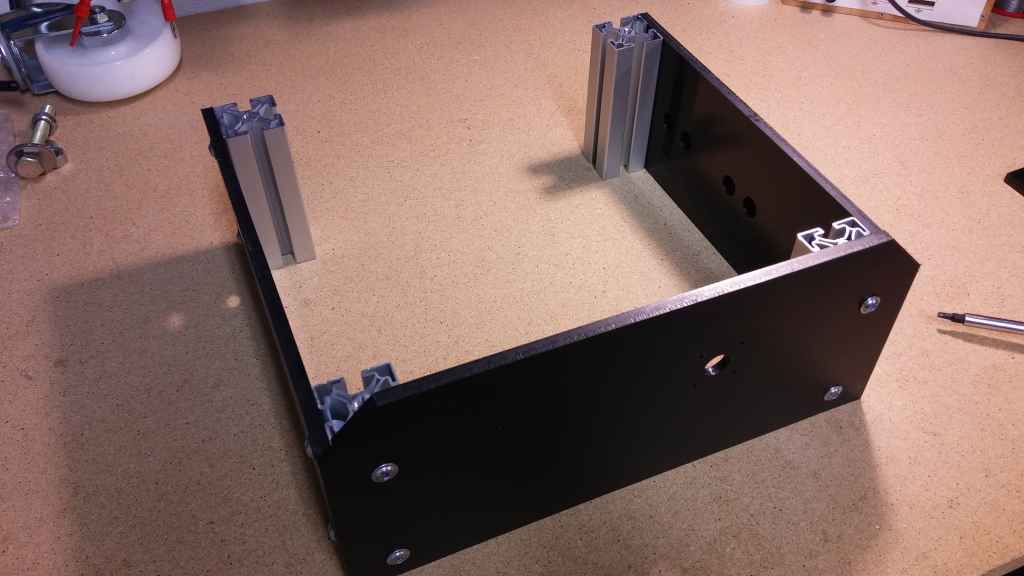
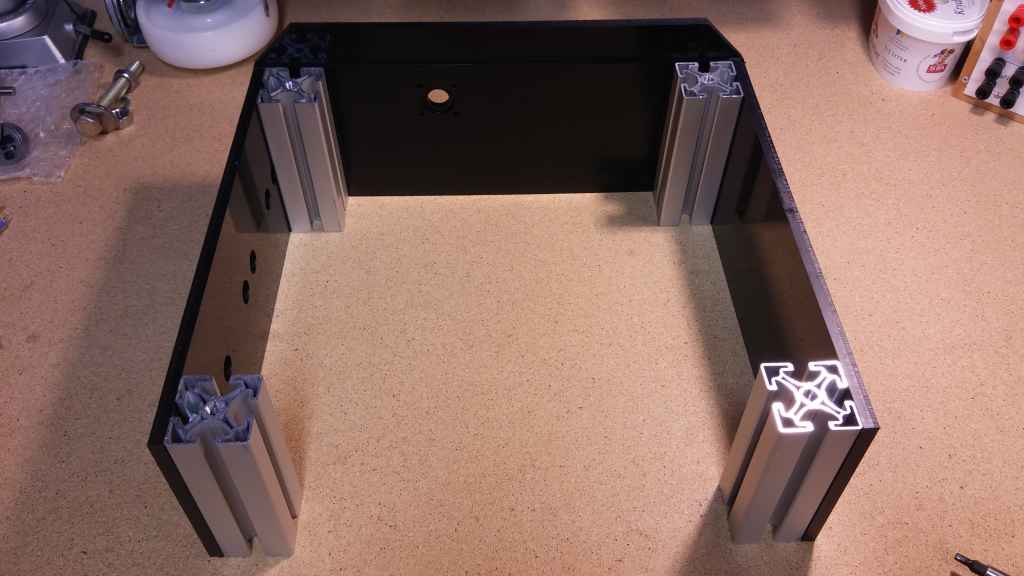
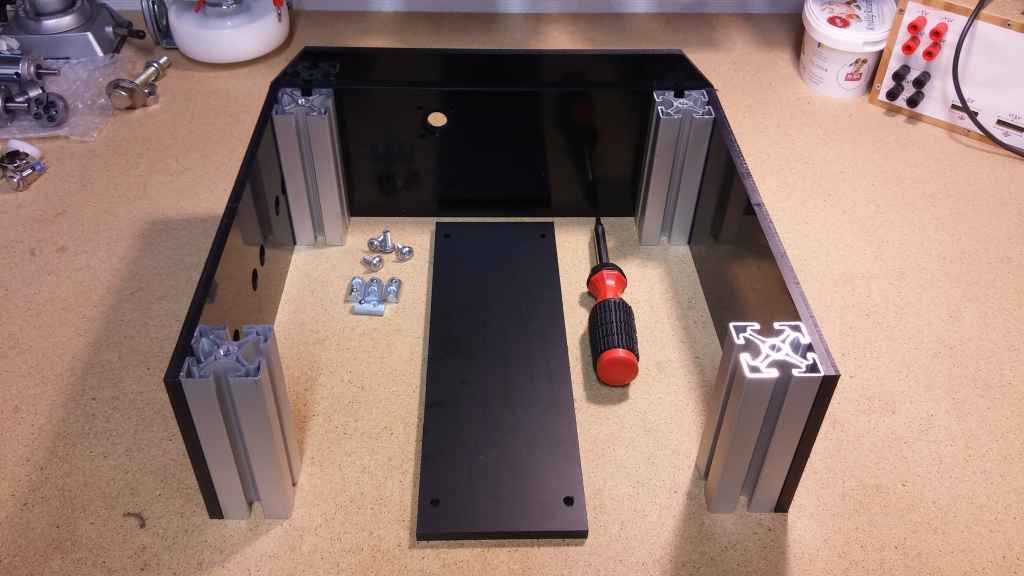
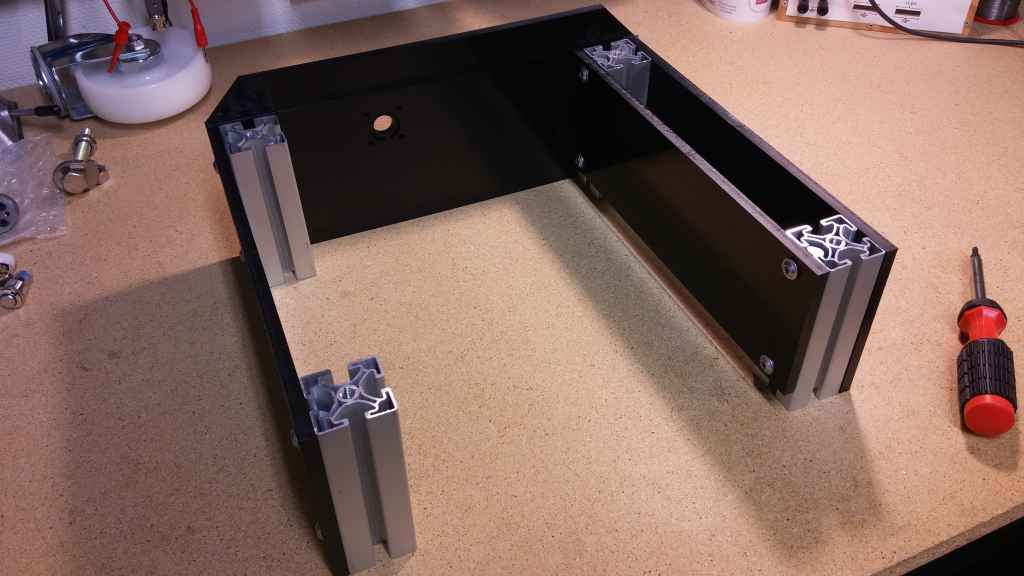
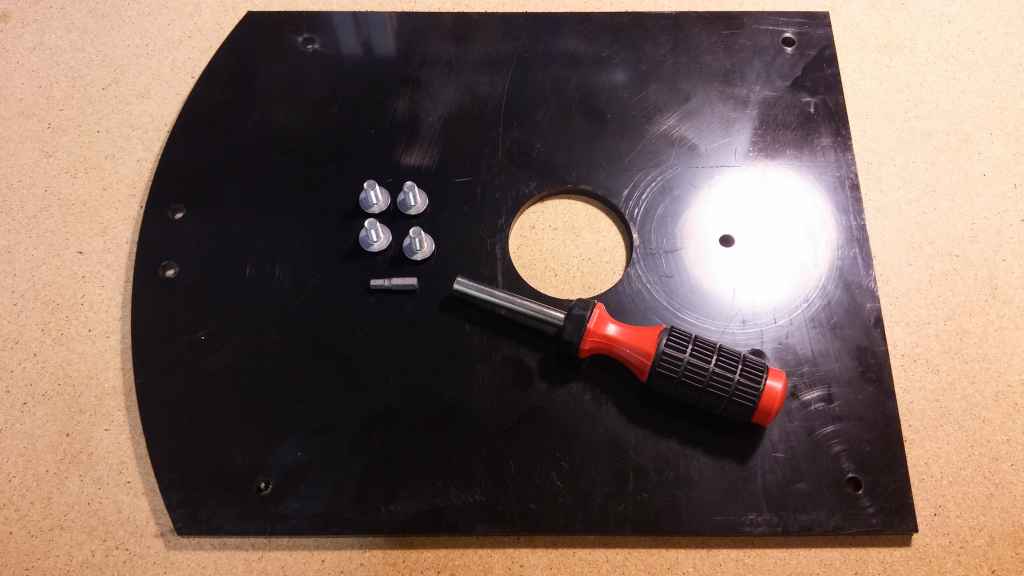
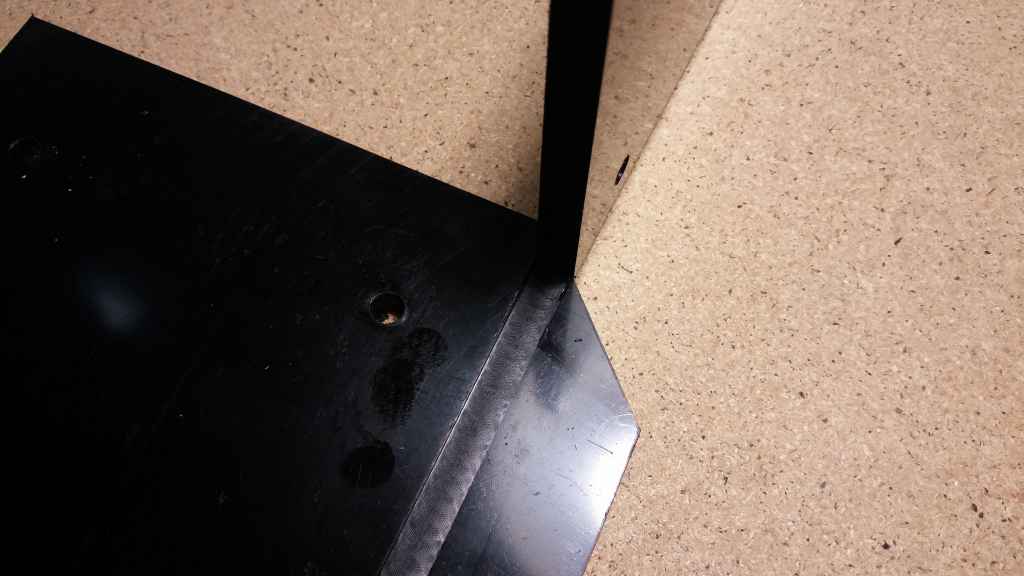
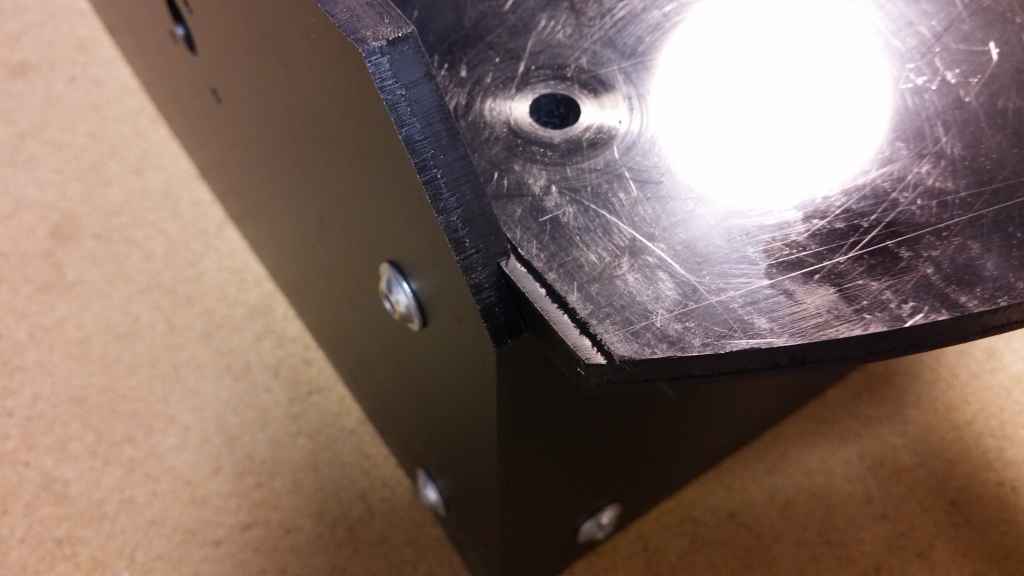
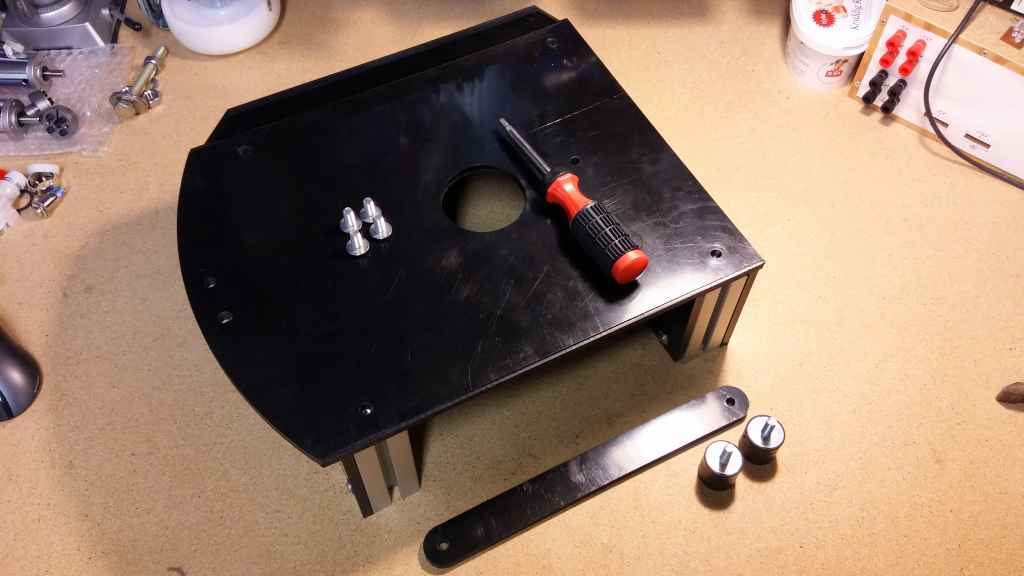
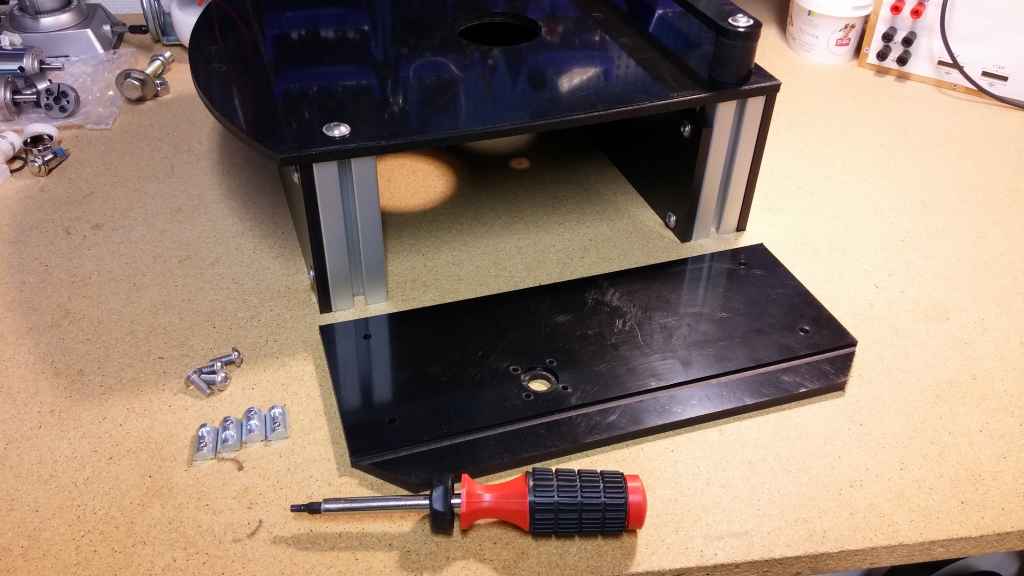
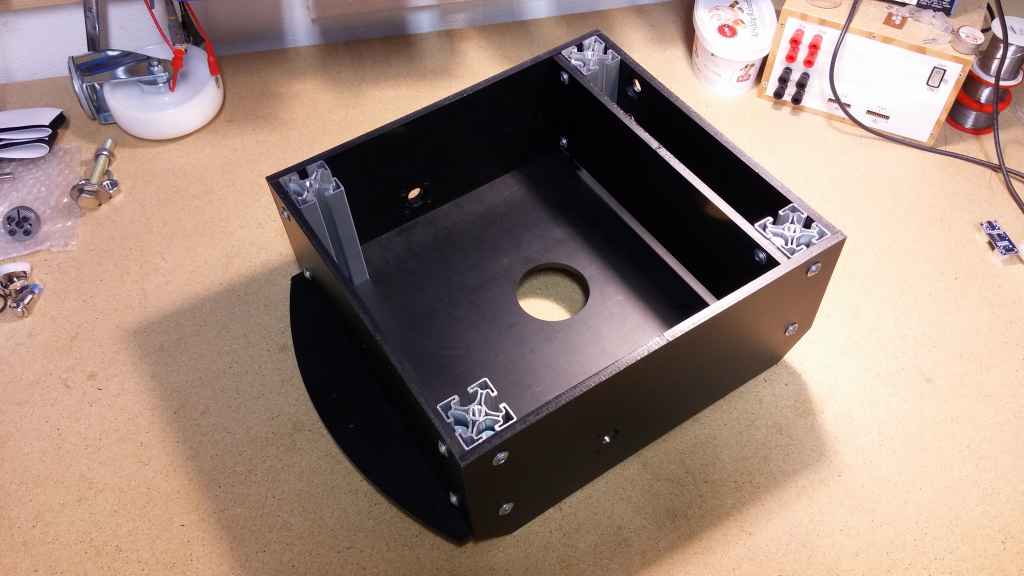
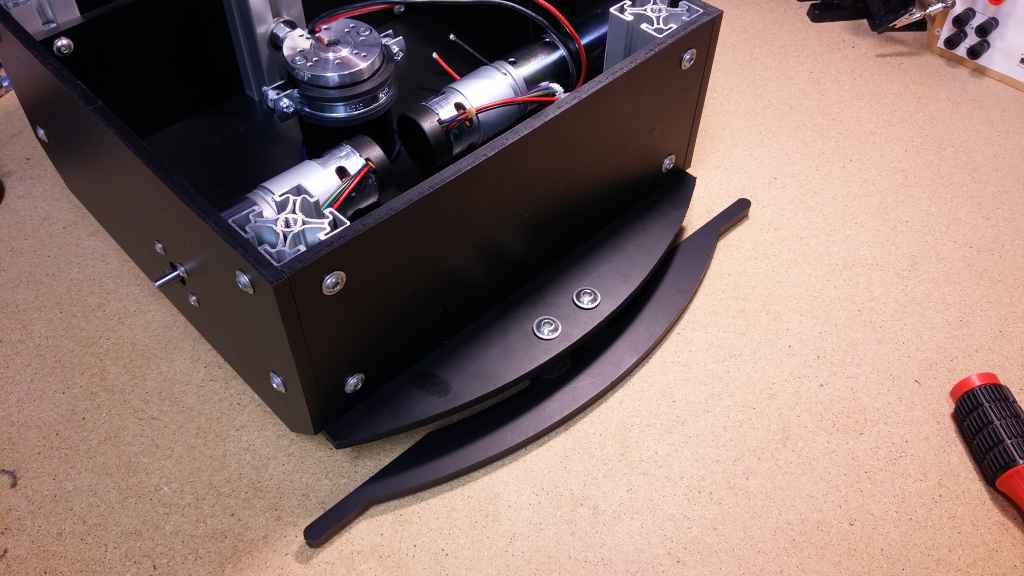
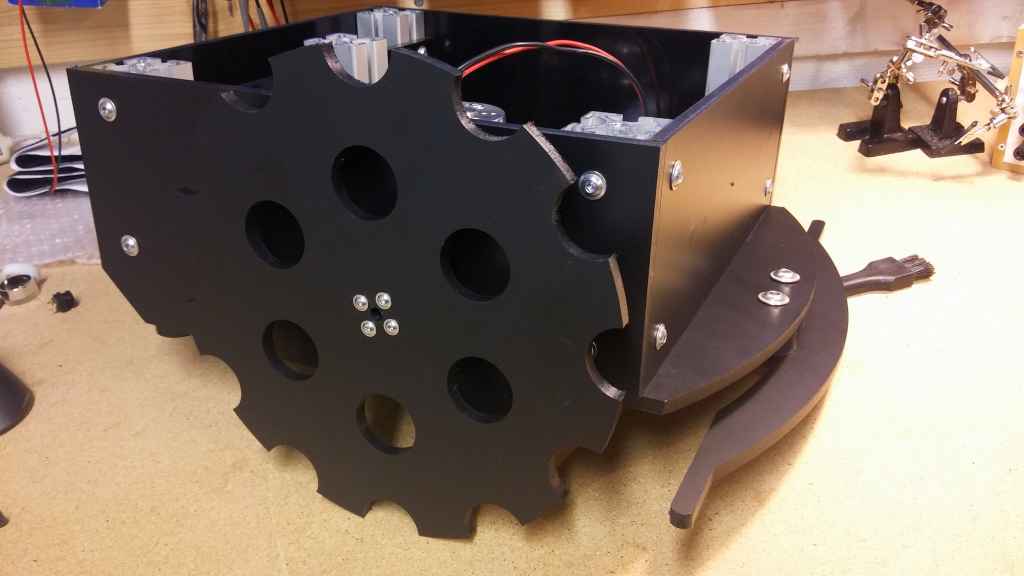
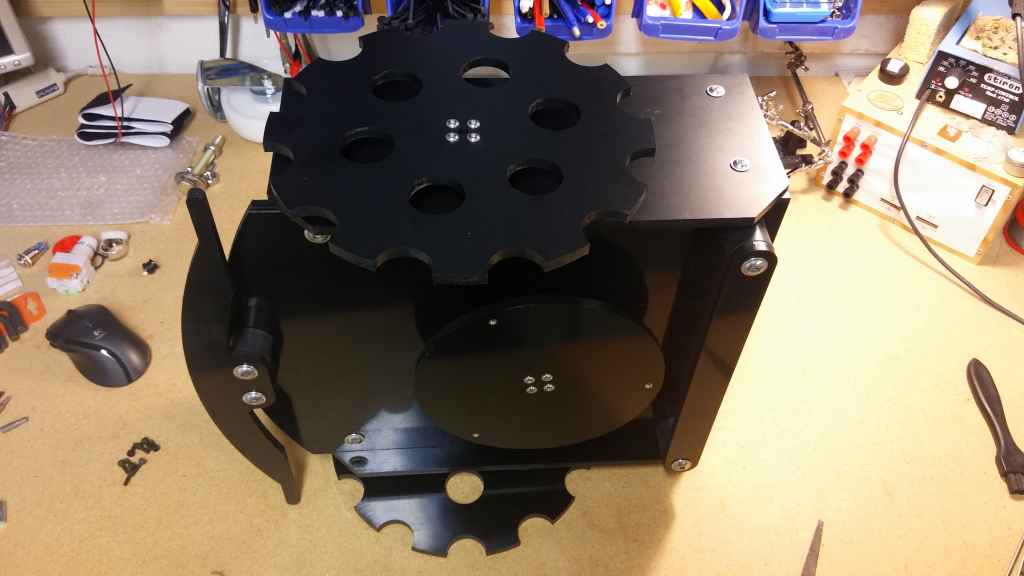
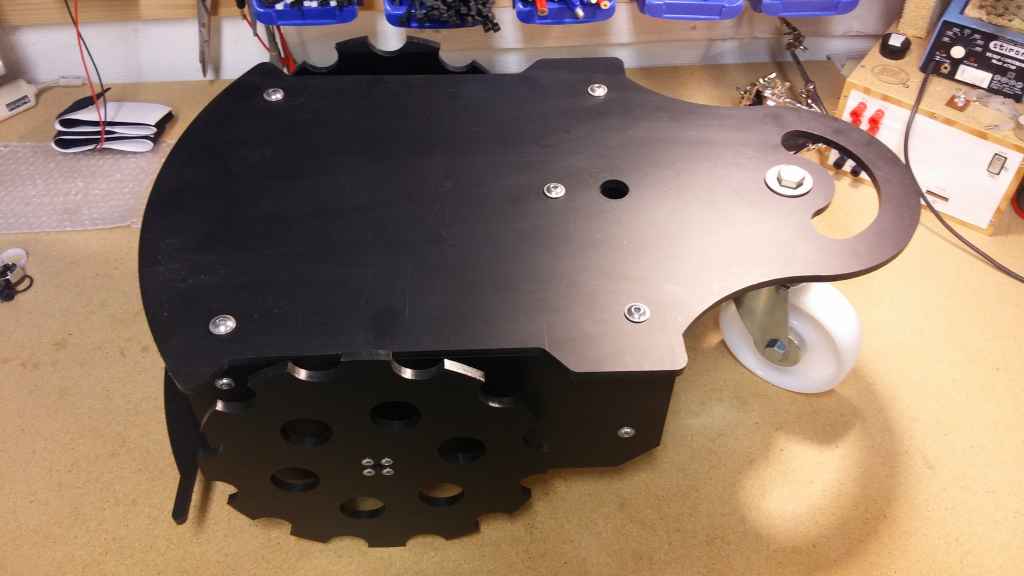
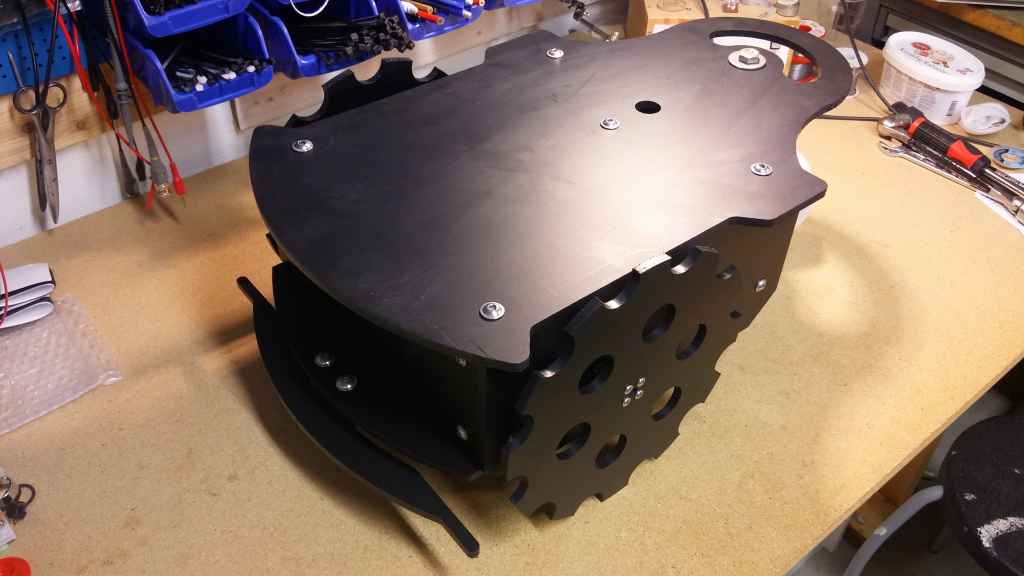
Plastic parts of the chassi.

20160526_202125.jpg

20160526_202154.jpg

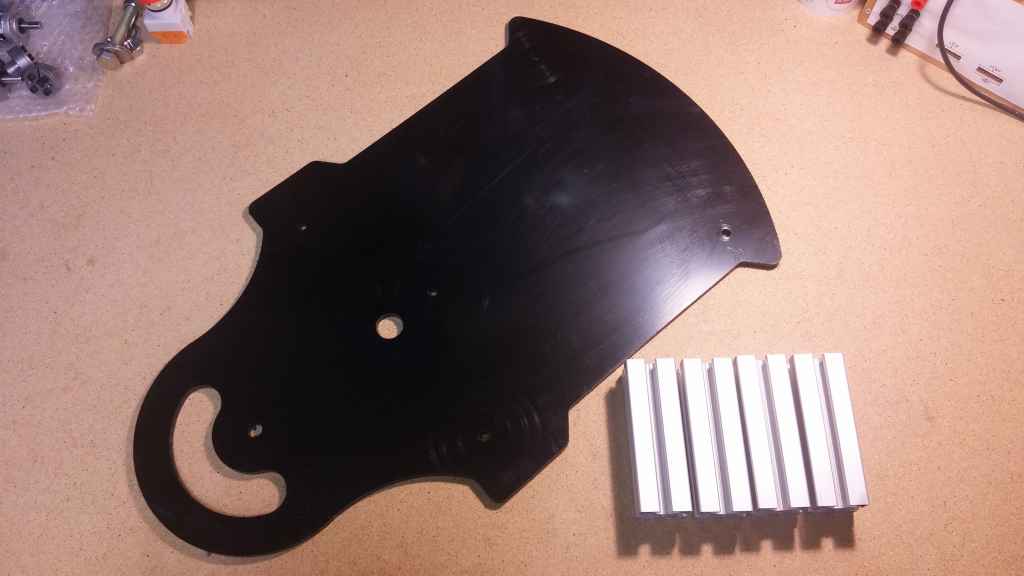
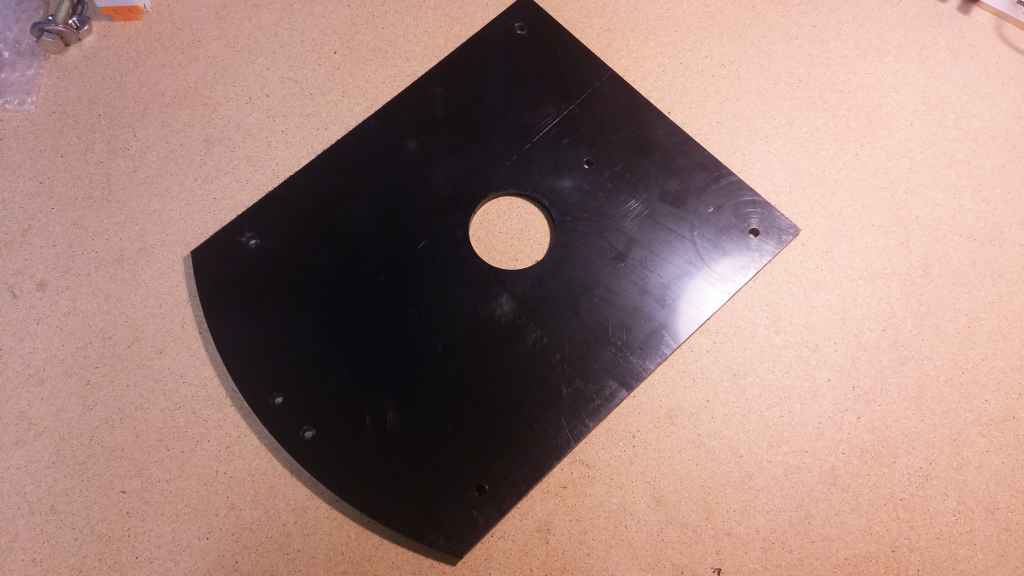
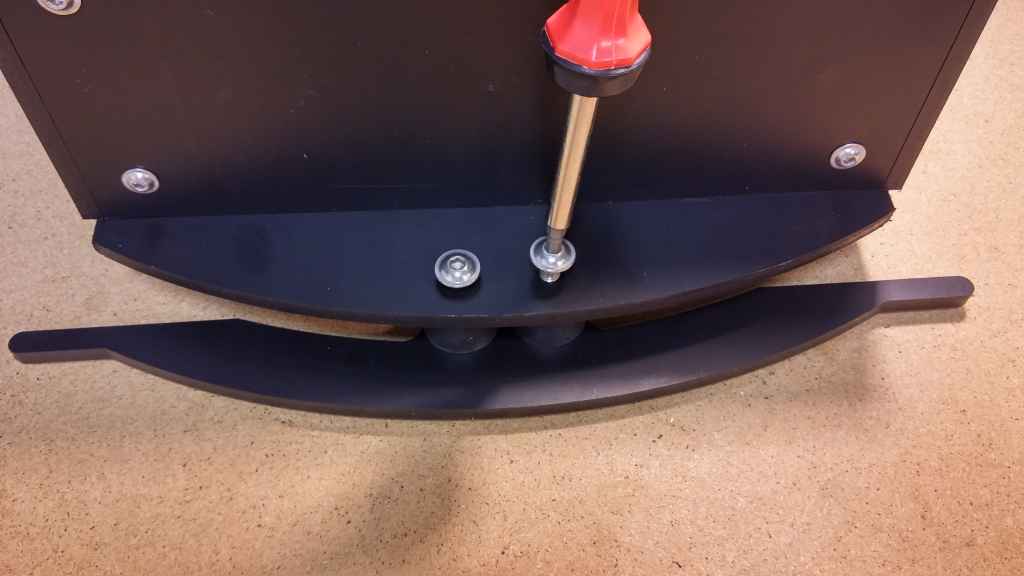
Top and bottom plastic parts.

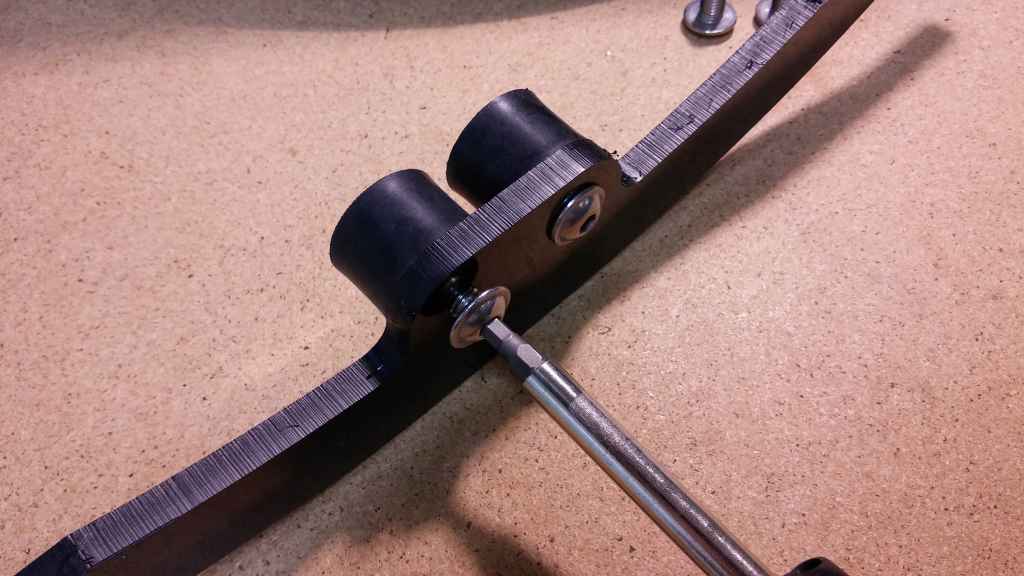
Some early conclussion regarding the chassi, the front underrun protection is not included in the kit and maybe its not a necessary part, but I agree with Manuel in this thread that it would be nice to have!

Some other thoughs and questions so far:
[ul]
[li]Can Ardumower work without a perimeter wire? In a confined space?[/li]
[li]Do I need odometer encoders?[/li]
[li]Do I need an IMU?[/li]
[/ul]
Best Regards
Thomas
 
Hello Thomas,

Your parts seem to be pretty complete for a basic Ardumower. The Ardumower motors already include odometer encoders. And yes, the Ardumower can work without perimeter in a confined space (the increasing motor current is used as obstacle trigger). An IMU is optional and can be added later. Other optional things are intelligent bumper sensor (BumperDuino), perimeter wire.

Regards,
Alexander
 
Hi thomas and welcome
On your questions:
Yes ardumower can run without perimeter but only if it has no way to go out, or (i haven't tried) if it has lawn sensor but to recharge you will have to do it manually.
Underrun protection effectively is not really needed and stock bumper is a better protection.
Wheel's Encoders are just included in drive motors and for mow motor is not mandatory,
But imu will be needed (if without you haven't all functions and no tilt protection).
At last had been better if you take motor drivers protections to avoid problems on motor drivers and for a better filtering motor noises (but i'm running without too)
Best regards
Alessio
 
Thanks Alexander and Alessio for your replies!

Regarding the odometer encoder I actually know that they are included on the motors, my question was if I need this: https://www.marotronics.de/Dual-Drehzahlsensor-Counting-Module-zB-fuer-Odometrie , or not?

And I agree Alessio, I think I will need the motor drivers protection in the future, so that's something for the wish list.

I have start building the chassi, so here come alot of pictures of the progress.

20160526_204829.jpg

I started my build by assembling the aluminium corners on the front panel.

20160526_205119.jpg

The M6 nuts are inserted in the aluminium corners and I aligned the holes on the panel with the holes of the inserted nuts before I installed the screws.

20160526_205457.jpg

With the front panel assembled I discovered my first problem with the Ardumower kit. The 6 holes for the ultra sonic sensors are not milled correctly. As you can see in the picture above they are not aligned from the center, so they are a bit shifted sideways. The holes are also to small to fit my sensors, even with som struggle I cannot manage to install them. So I have to fix these holes in the future when I install the sensors. For now I leave them as is...

20160526_210048.jpg

Stuff needed to assemble the back panel.

20160526_210720.jpg

Both front and back panel assembled.

20160526_212002.jpg

Next up is the left side panel.

20160526_212547.jpg


20160526_212615.jpg

Here the left side panel is assembled with the front and rear panel.
Attachment: https://forum.ardumower.de/data/media/kunena/attachments/3585/20160526_204829.jpg/
 
Zuletzt bearbeitet von einem Moderator:
20160526_213624.jpg

The inner panel is installed inside the chassi in front of the rear panel and behind where the mower motor is going to be installed.

20160526_214241.jpg

I didn't tighen the screws on the inner panel so I can move it out of the way if I need that later.

20160526_214542.jpg

To install the bottom panel I needed to change to a larger screw bit.

20160526_211518.jpg

And here arise the my second problem so far, the bottom panel was to width for the milled trench on the left and right side panels, about 0.5 mm to width. I struggled a lot to make I fit but I could not do it. So I decided to mill away 0.5 mm on each side of the bottom panel, after that I could install it with perfect fit.

It was very easy to mill in the plastic panel, does anyone know what kind of plastic it is?

20160528_192118.jpg

Bottom panel assembled with the rest of the chassi.

20160528_192345.jpg

Next is the rear underrun protection.

20160528_193015.jpg

Rear underrun protection installed.
Attachment: https://forum.ardumower.de/data/media/kunena/attachments/3585/20160526_213624.jpg/
 
Zuletzt bearbeitet von einem Moderator:
Excellent! I think we can use some of the photos for the manual?

I have been working hard the last days to further improve the manual - the manual also lists what components you need, what components are optional, and where to get them (single mouse click on components):
http://wiki.ardumower.de
I hope your question is answered with this? :)
 
Thanks for the reply Alexander, I see the wiki has been updated and it looks better now than before. Great work Alexander!

Sure you can use my photos for the manual, I'm glad if my photos can help others.

I cannot find the answer to my question regarding the plastic used for the ardumower chassi, does anyone know?

I have continue building my ardumower chassi for the last couple of days and here are the result of my progress; the next step I choose to continue with was installing the main motors.

But before installing the motors, I decided to applied the work around to get rid of any motor interference. The work around can be found here (its in german, if a english version exist please let me know): https://github.com/Ardumower/ardumower/tree/master/Dokumentation/Motor%20Entstoerung
The work around is pretty straight forward to apply with a lot of good pictures.

20160530_213517.jpg

These are all the components I used to fix the work around, a 100nF capacitor, some shrinking tube, wire and desoldering wire.

20160530_213842.jpg

Soldering the wires together with the legs of the capacitor.

20160530_214230.jpg

Then put on the shrinking tube and heat them up. Make two, one for each motor.

20160530_215213.jpg

Remove the plastic cover and solder the capacitor to the positive and negative side of the motor.

20160602_200813.jpg

Connect the motor housing to the center tap between the two capacitors with desoldering wire.

20160602_202154.jpg

Put the plastic cover back on and perform the same steps on the second motor. The motors are now ready to be installed.

20160602_203452.jpg

To install the motors a screwdriver with a T20 torx bit is needed and 8 x M4 14mm screws.

20160602_204436.jpg

Its very simple to install the motors, screw all 4 screws the motor in a cross pattern to make sure that the motor is evenly fixed to the chassi.
Attachment: https://forum.ardumower.de/data/media/kunena/attachments/3585/20160530_213517.jpg/
 
Zuletzt bearbeitet von einem Moderator:
Next step is to install the mower motor to the bottom of our chassi.

20160602_205906.jpg

This is what I used to install the mower motor.

20160602_210752.jpg

First install the aluminum rail in the center of the chassi if you haven't done that earlier.

20160602_210933.jpg

Put the isolation ring inside the hole, which was kind of tricky in the beginning.

20160602_212242.jpg

Install the motor bracket onto the motor, pretty high up onto the motor is my experience.

20160602_212444.jpg

When trying to assemble the motor bracket together with the aluminum rail I discovered that the bolt was too short to be mounted, just a couple of millimeters too short. So I decided to get a better bolt.

To be continue, see next post.
Attachment: https://forum.ardumower.de/data/media/kunena/attachments/3585/20160602_205906.jpg/
 
Zuletzt bearbeitet von einem Moderator:
20160602_212854.jpg

I had a carriage bolts lying that was longer than the orginal one, so I only need to cut it off to make it fit perfectly in the motor bracket. I also discovered that carriage bolt fitted perfectly inside the aluminum rail which is a big plus.

20160602_213531.jpg

Here is the cut carriage bolt in comparision with the orginal one, only a couple of millimeters longer.

20160602_213635.jpg

As you can see the carriage bolt now goes all the way through the nut of the motor bracket.

20160602_214736_HDR.jpg

And now everything is in place. I also decided to add a washer between the nut and the aluminim rail, mostly for aesthetic reasons.

20160602_214623.jpg

The mounted mower motor as seen from below.

20160602_214915.jpg

Now all three motors have been installed inside the chassi and I am very pleased with the result.
Attachment: https://forum.ardumower.de/data/media/kunena/attachments/3585/20160602_212854.jpg/
 
Zuletzt bearbeitet von einem Moderator:
20160602_215925.jpg

Now when the motors are in place I decided to install the front bumper, its very straight forward.

20160602_220104.jpg


20160602_220207_HDR.jpg

Mount the bumper onto the chassi.

20160602_220357.jpg

And here is the front bumper mounted onto the chassi. According to what I understand you can mount the front bumper in two configurations, both above and below the bottom plate of the chassi. I think below the chassi is the standard configuration but I have seen others here on the forum mount above the bottom plate. I do not know the advantages / disadvantages of any of these configurations, so I will try which one that works best for me in the future when the mower is up and running.

Next will be the main wheels and the mower disc.
Attachment: https://forum.ardumower.de/data/media/kunena/attachments/3585/20160602_215925.jpg/
 
Zuletzt bearbeitet von einem Moderator:
20160604_210745.jpg

Before I installed the main wheels and I choose to install the mower disc. Here are all the items need to intall the mower disc on to the mower motor. The mower disc, 1x motor hub, 3x nut inserts, 4 x M4 16mm screws, an allen key and one screwdriver.

20160604_210841.jpg

When I order the ardumower kit I also order blades for the mower disc and with the blades some screws are included to install the blades. I used one of these screws to install the nut inserts into the mower disc.

20160604_210911.jpg

With the nut insert screwed onto one of the blade screws it was easy to screw down the nut insert into the mover disc.

20160604_211028.jpg

With the nut insert in place I just unscrewed the blade screw and continued with the next nut insert.

20160604_211326.jpg

All nut inserts are in place in the mower disc.
Attachment: https://forum.ardumower.de/data/media/kunena/attachments/3585/20160604_210745.jpg/
 
Zuletzt bearbeitet von einem Moderator:
20160604_212028.jpg

Now install the hub onto the mower motor shaft, by tighen the screws in a cross pattern to tighen the hub evenly around the motor shaft.

20160604_212313.jpg

Then unscrew and remove the hub screws, the hub shall still be tighen around the motor shaft even with the screws removed.

20160604_212339.jpg

Put the M4 screws into the 4 holes on the mower disc.

20160604_212629.jpg

Install the mower disc by tighen the scruws onto the hub.

20160604_212808.jpg

Done! The mower disc is now installed onto the mower motor, next up is the main wheels.
Attachment: https://forum.ardumower.de/data/media/kunena/attachments/3585/20160604_212028.jpg/
 
Zuletzt bearbeitet von einem Moderator:
20160604_213353.jpg

Similar to the mower disc, installing the main wheels are a pretty straight forward process. This is what you need; a main wheel, 4x M4 16mm scruws + an allen key and a screwdriver.

20160604_213805.jpg

Again, tighen the screws in a cross pattern to tighen the hub evenly around the motor shaft.

20160604_213848.jpg

Then unscrew and remove the hub screws.

20160604_214056.jpg

Put the M4 screws into the 4 holes on the main wheel.

20160604_214338.jpg

Install the main wheel by tighen the scruws onto the motor hub, remember to do this in a cross pattern to evenly spread out the pressure onto the motor hub.

20160604_215219.jpg

Now install the other main wheel in the same way.

20160604_215300.jpg

Done, both main wheels are now installed and it really starts to look like a Ardumower. :cheer:
Attachment: https://forum.ardumower.de/data/media/kunena/attachments/3585/20160604_213353.jpg/
 
Zuletzt bearbeitet von einem Moderator:
To really get the feeling for what the complete Ardumower is going to look like I decided to complete assembling the chassi by putting on the top plate and the free wheel.

I will later need to disasmemble the chassi to install all electronics, but that will be a easy operation. For now I just want to see what the Ardumower looks like. So let's get started!

20160604_220017.jpg

This is what you need to mount the top plate on to the chassi; the top plate, the free wheel and the nuts and bolts for it, 5 screws for the top plate, one or two wrenchs and a screwdriver.

20160604_220215.jpg

I started to install the free wheel by inserting the bolt into the hole in front of the milled handle.

20160604_220414.jpg

Tighen the bold with a washer and a nut.

20160604_220608.jpg

Screw on another nut onto the bolt, I also added another washer.

20160604_220914.jpg

Now put on the free wheel and tighten it togheter with another nut and a washer. Here I decided to use a lock nut so that the nut doesn't unscrew itself during normal mowers use.

20160604_221535.jpg

And finally tighen the 5 screws on the top plate.

20160604_221547.jpg

And now, finally, the Ardumower chassi is completely assembled. It look good, really good, better than I had expected. Thanks to everyone who has participated and contributed to this machine, it looks very robust and well thought out.

Now it's time for me to read about how to put together all the electronics, it will be the next step in my Ardumower building.

What do you think about this thread so far, to many pictures? Poor English? Please give comments!

Should I document every step when I assemble the components on the Ardumower PCB, what do you think? Useful or not for others?
Attachment: https://forum.ardumower.de/data/media/kunena/attachments/3585/20160604_220017.jpg/
 
Zuletzt bearbeitet von einem Moderator:
Super thread !

Please gibe detailed photos of all future steps. That would be great !

Nice are your workarounds, if you encounter problems.

Greets,
Jem
 
Thanks you Jem and Alessio for your nice words. Currently I'm soldering the "motherboard" for the Ardumower and I will post more pictures of the progress as soon as possible.

Best regards
/Thomas
 
Oben